
Cookie Dough Cheesecake
The best of both worlds in one dreamy dessert.
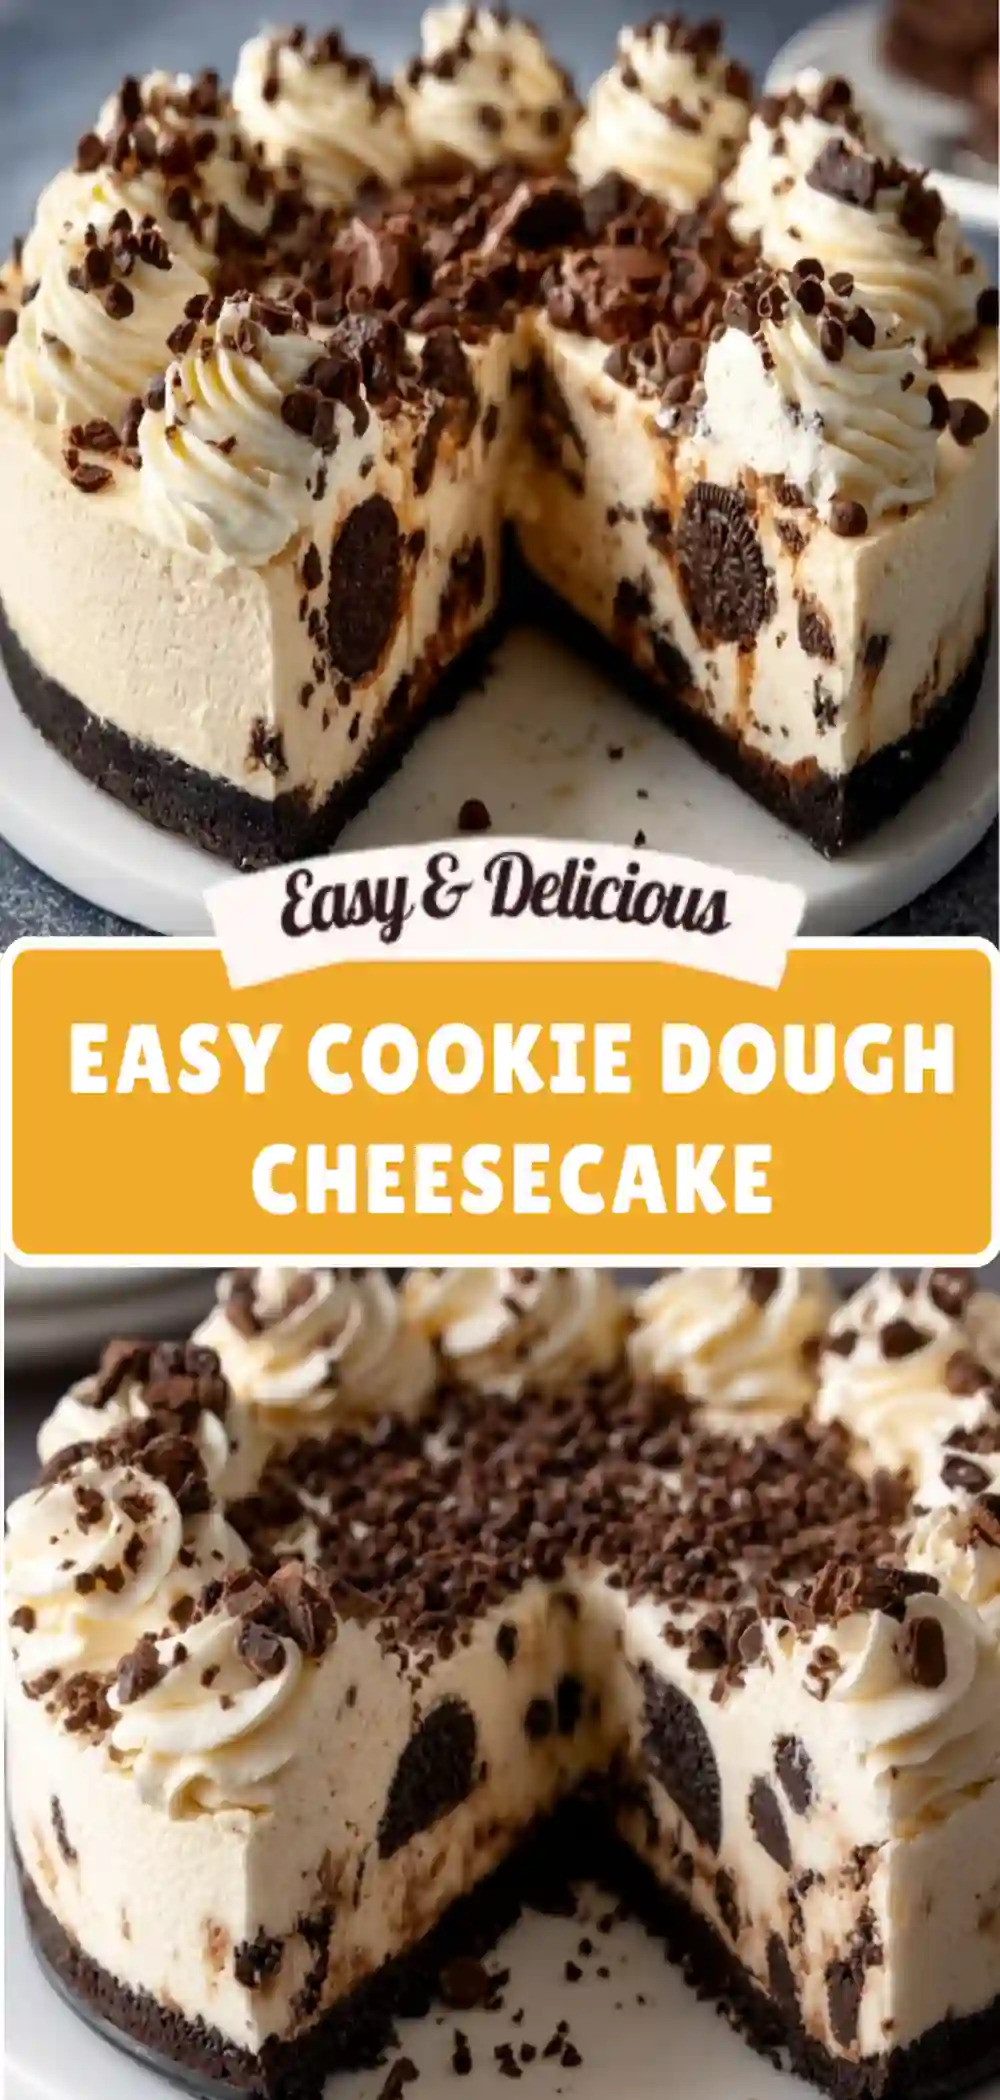
If you’ve ever struggled to decide between biting into gooey chocolate chip cookie dough or indulging in creamy cheesecake, this recipe is for you. Cookie Dough Cheesecake combines two beloved treats into one rich, decadent slice. Perfect for birthdays, holidays, or any time you crave something sweet and unforgettable.
🕒 Prep Time: 25 minutes
🕒 Chill Time: 4 hours
🕒 Bake Time: 50 minutes
✅ Total Time: 5 hours 15 minutes
Ingredients
For the Cookie Dough:
- 1/2 cup unsalted butter, softened
- 1/2 cup light brown sugar, packed
- 1/4 cup granulated sugar
- 2 tbsp milk
- 1 tsp vanilla extract
- 1 cup all-purpose flour (heat-treated)
- 1/2 tsp salt
- 3/4 cup mini chocolate chips
For the Crust:
- 1 1/2 cups graham cracker crumbs
- 1/3 cup unsalted butter, melted
- 2 tbsp sugar
For the Cheesecake Filling:
- 24 oz cream cheese, softened
- 1 cup granulated sugar
- 1 tsp vanilla extract
- 3 large eggs
- 1/2 cup sour cream
- 1/2 cup heavy cream
For Topping (optional but recommended):
- Whipped cream
- Chocolate drizzle
- Extra cookie dough balls
Step-by-Step Instructions
Step 1: Make the Cookie Dough
- In a mixing bowl, cream together the softened butter, brown sugar, and granulated sugar until smooth and fluffy.
- Mix in milk and vanilla extract.
- Gradually stir in the heat-treated flour and salt until a dough forms.
- Fold in mini chocolate chips.
- Roll small dough balls (about 1 tsp each) and place them in the fridge while preparing the cheesecake.
Pro Tip: Heat-treat your flour by microwaving it in 30-second bursts until it reaches 165°F to kill bacteria.
Step 2: Prepare the Crust
- In a bowl, combine graham cracker crumbs, sugar, and melted butter.
- Press the mixture firmly into the bottom of a 9-inch springform pan.
- Bake at 325°F (160°C) for 10 minutes, then set aside to cool slightly.
Step 3: Make the Cheesecake Filling
- Beat softened cream cheese until smooth.
- Add sugar and vanilla extract; beat until creamy.
- Mix in eggs one at a time, scraping the sides of the bowl after each addition.
- Gently fold in sour cream and heavy cream until the mixture is silky.
Step 4: Assemble the Cheesecake
- Pour half of the cheesecake filling over the crust.
- Add half of the cookie dough balls into the filling.
- Pour in the remaining cheesecake batter and smooth the top.
- Scatter a few more cookie dough balls on top for a fun look.
Step 5: Bake the Cheesecake
- Place the springform pan inside a larger roasting pan. Fill the outer pan with hot water halfway up the sides (water bath method).
- Bake at 325°F (160°C) for 50–55 minutes, until the edges are set but the center is slightly jiggly.
- Turn off the oven, crack the door open, and let the cheesecake cool inside for 1 hour.
- Refrigerate for at least 4 hours (overnight is best).
Step 6: Garnish and Serve
- Top with whipped cream swirls.
- Drizzle with melted chocolate.
- Add extra cookie dough bites for an irresistible finish.
Slice, serve, and watch everyone’s eyes light up!
Pro Tips for Success
- Storage: Store leftovers in an airtight container in the refrigerator for up to 5 days.
- Freezing: Wrap tightly in plastic wrap and foil; freeze up to 1 month. Thaw overnight in the fridge.
- Swaps: Try using an Oreo crust instead of graham crackers for an extra chocolatey base.
- Mini Version: Make this in muffin tins for adorable mini cheesecakes perfect for parties.
Nutrition Information (Estimated)
| Serving Size | Calories | Protein | Carbs | Fat | Fiber | Sugar |
|---|---|---|---|---|---|---|
| 1 slice | 480 | 7g | 46g | 29g | 1g | 34g |
Disclaimer: Nutrition facts are estimated using online tools and may vary based on your ingredients and preparation. Please consult a nutritionist for precise dietary advice.
Final Thoughts
Cookie Dough Cheesecake is the ultimate indulgence—rich, creamy cheesecake studded with chunks of safe-to-eat cookie dough. It’s a Pinterest-worthy dessert that looks as good as it tastes. Whether you’re hosting friends, planning a holiday menu, or simply treating yourself, this recipe will be the star of the table.