
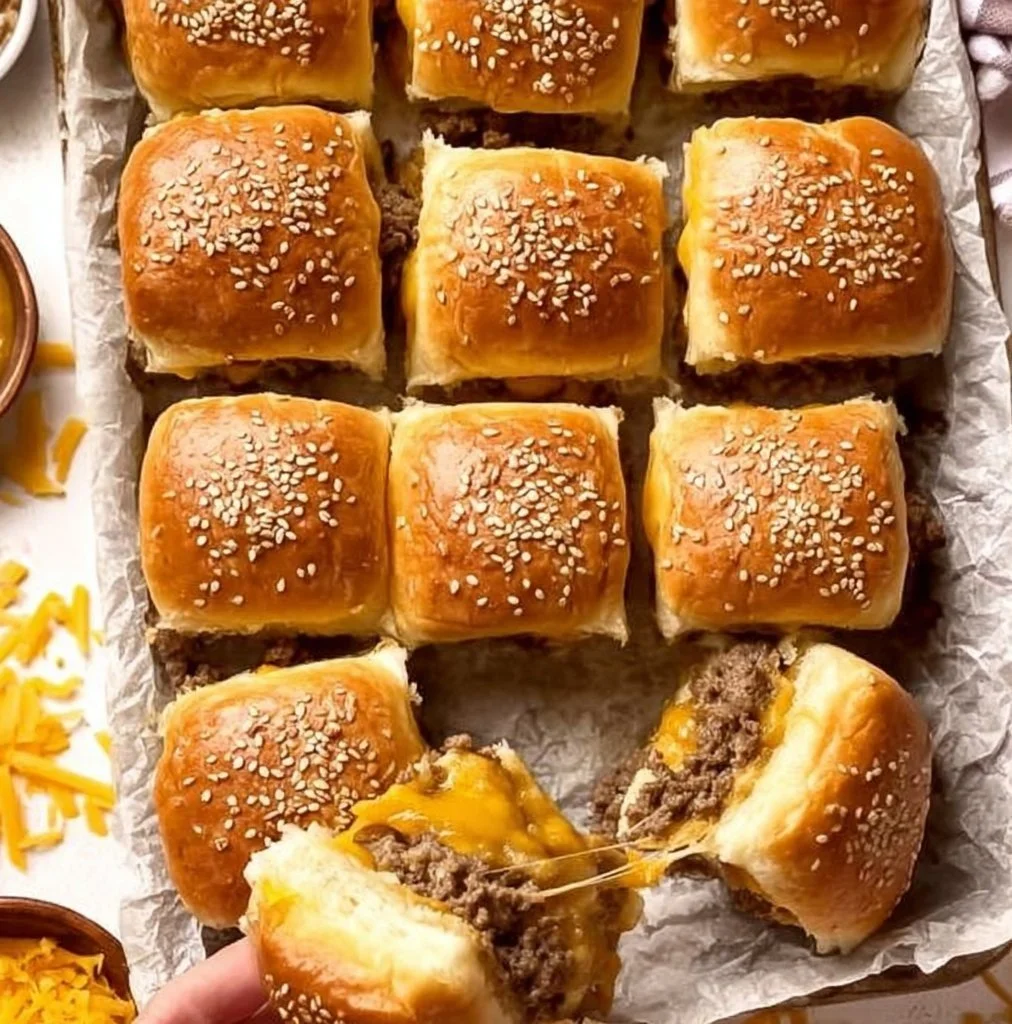
Easy Cheeseburger Sliders
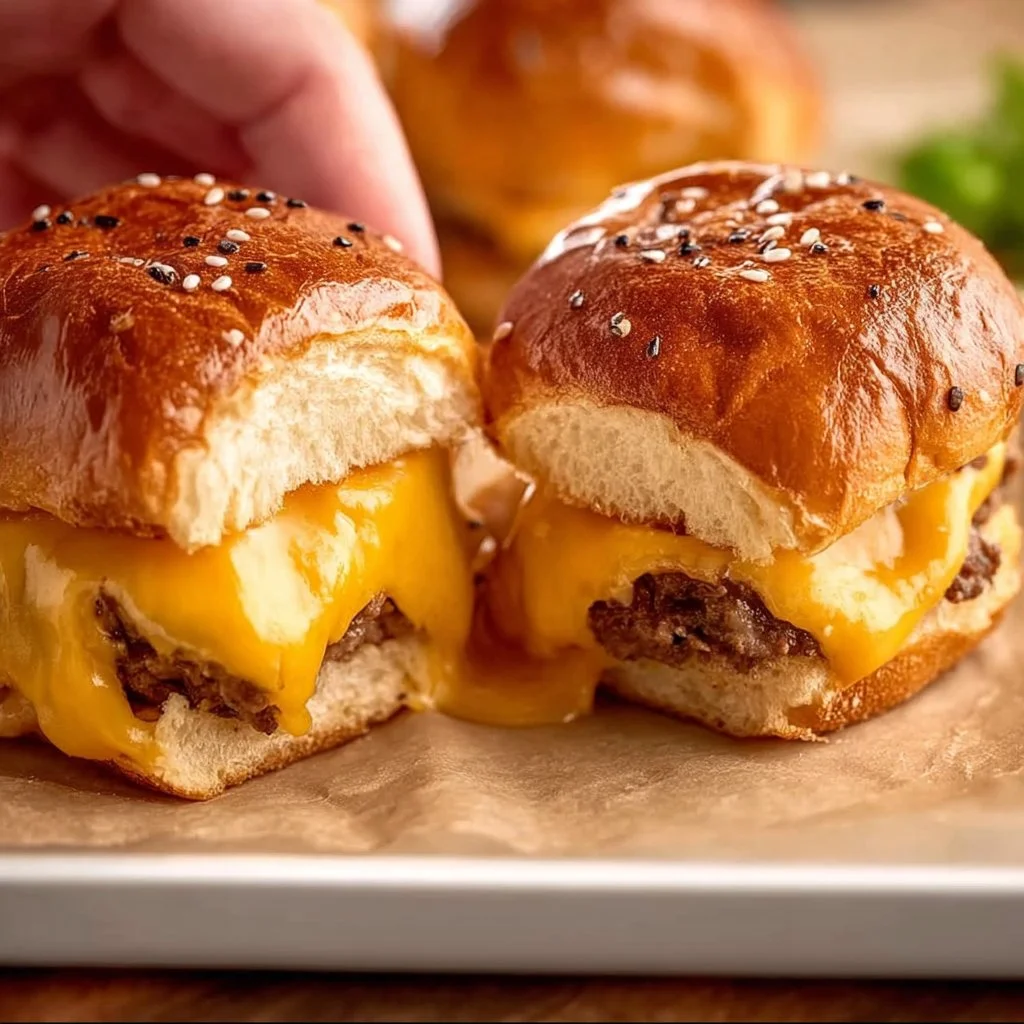
If you’re looking for a quick and delightful meal that everyone will love, Easy Cheeseburger Sliders are the answer. These tiny sandwiches pack all the classic cheeseburger flavors into bite-sized portions, making them the perfect treat for parties, game days, or even a fun family dinner. Imagine juicy turkey patties with melted cheese, all snug between soft slider buns. It’s a comforting combination that’s hard to resist!
What sets these cheeseburger sliders apart is not just their taste; it’s the ease of preparation. With simple ingredients and minimal time in the kitchen, you can whip these up in no time. They’re kid-friendly, easy to customize, and perfect for sharing. Whether you’re hosting a gathering or just want a snack, these sliders are a surefire hit.
Nutrition & Recipe Details:
| Item | Value |
|---|---|
| Prep time | 10 minutes |
| Cook time | 20 minutes |
| Store time | 3 days in the fridge |
| Calories | 250 per slider |
| Protein | 12g |
| Carbohydrates | 20g |
| Fat | 10g |
How to Make Easy Cheeseburger Sliders
Ingredients:
| Ingredient | Quantity |
|---|---|
| Ground turkey | 1 lb |
| Onion, finely chopped | 1 |
| Ketchup | 1/4 cup |
| Mustard | 1/4 cup |
| Salt and pepper | to taste |
| Slider buns | 12 |
| Cheddar cheese slices | 6 |
| Dill pickles, sliced | as desired |
Step-by-Step Instructions:
- Preheat the oven to 375°F (190°C).
- In a skillet over medium heat, cook the ground turkey and onion until the turkey is browned. Drain excess fat.
- Stir in ketchup, mustard, salt, and pepper.
- Place the bottom half of the slider buns in a baking dish. Spoon the turkey mixture evenly over the buns.
- Place a slice of cheese on top of the turkey.
- Cover with the top half of the buns.
- Bake for 15-20 minutes, until the cheese is melted and the sliders are heated through.
- Remove from the oven, add sliced pickles, and serve.
Pro Tips:
| Tip | Description |
|---|---|
| Use lean ground turkey | This helps to keep the sliders a bit healthier while still remaining juicy. |
| Don’t overcook the turkey | Overcooking can lead to a dry texture; aim for just browned and cooked through. |
| Experiment with toppings | Add other toppings like lettuce, tomato, or avocado for a fresh twist! |
Why You’ll Love This Recipe
These Easy Cheeseburger Sliders are not only packed with flavor but are also incredibly simple to make. The combination of turkey and cheese provides a delightful contrast of textures – the softness of the buns meets the creamy melt of cheese, creating a satisfying experience with each bite. Plus, they’re versatile enough to suit various diets; simply swap ingredients to accommodate different tastes.
Whether you’re trying to feed a crowd or enjoy a cozy night in, this recipe is adaptable to any occasion. They are also a fantastic option for snack time or as a fun meal during movie nights. The sliders give you that classic burger taste without the fuss of traditional cooking methods.
How to Serve Easy Cheeseburger Sliders
Serving these sliders can be as creative as you wish! Arrange them on a platter with colorful toothpicks to hold them together for a festive touch. You can also provide an array of sauces like extra ketchup, mustard, or barbecue sauce for dipping, making it interactive and fun.
Pair your sliders with sides like crispy sweet potato fries, traditional potato salad, or a fresh garden salad for a balanced meal. For drinks, iced tea, lemonade, or even sparkling water can complement the flavors beautifully.
How to Store Easy Cheeseburger Sliders
Leftover sliders can be stored in the fridge for up to three days. Place them in an airtight container to keep them fresh. If you have more than you can eat within that time frame, consider freezing them. They can be frozen for up to three months; just make sure they are well-wrapped to prevent freezer burn.
To reheat, it’s best to use the oven to retain the texture. Preheat the oven to 350°F (175°C) and place the desired number of sliders on a baking sheet, covering them with foil to keep them moist. Heat for about 10-15 minutes or until warmed through.
Tips to Make Easy Cheeseburger Sliders
To enhance your sliders further, consider adding some sautéed mushrooms or caramelized onions to the turkey mix for more depth of flavor. You can also try different kinds of cheese, like pepper jack for a spicy kick or mozzarella for a milder taste.
Proper seasoning is crucial; always taste your mixture before putting it into the oven. Adding a pinch of garlic powder or onion powder can make a significant difference in flavor. Cooking the sliders just until they’re done will ensure you have the perfect juicy bite.
Variation Ideas
- Vegan Version: Swap out the turkey for a plant-based ground meat alternative and use vegan cheese for a tasty plant-based option.
- Spicy Sliders: Add chopped jalapeños to the meat mixture or incorporate spicy mustard to give your sliders an extra kick.
- Low-Carb Option: Serve the filling in lettuce wraps instead of buns for a low-carb alternative, perfect for those looking to reduce their carb intake.
Storage and Reheating
To reheat sliders, you have a few good options:
- Microwave: Place them on a microwave-safe plate for quick reheating. Heat in 30-second intervals until warmed through.
- Oven: Preheat your oven to 350°F (175°C), place sliders on a baking tray, cover, and warm for about 10-15 minutes.
- Skillet: Heat a non-stick skillet over low heat, add a little butter, and warm the sliders on both sides until heated.
Customization Ideas
Feel free to tweak the recipe to match your preferences! Consider adding toppings like sautéed bell peppers, BBQ sauce, or even jalapeños for spice. You can switch up the cheese variety for a different flavor experience, or try whole wheat or gluten-free buns to match dietary needs.
Common Mistakes to Avoid
- Overcooking the turkey: This will make your sliders dry. Cook until just browned and no longer pink.
- Not draining excess fat: Leaving excess fat can make the sliders greasy. Always drain the turkey mixture before assembly.
- Ignoring seasoning: Tasty sliders need seasoning! Always taste your mix before baking.
- Undercooking cheese: Ensure the cheese is melted for a gooey texture; keep them covered in the oven if needed.
- Using stale buns: Fresh buns are essential for the best texture. If they’re stale, your sliders won’t be as enjoyable.
Serving Occasions
These sliders are ideal for various occasions! They work perfectly at backyard barbecues, birthday parties, or even as part of a game day spread. They’re also a great lunch option or an easy dinner during a busy week.
Why Make This Recipe
What makes Easy Cheeseburger Sliders stand out is their flavor and versatility. They combine comfort food with the convenience of small servings, perfect for those who like to try a little bit of everything. They offer the nostalgic taste of cheeseburgers in a fun, shareable format, making them ideal for any gathering.
These sliders are also a great way to introduce kids to cooking. The recipe is straightforward, and they can help with assembling and adding toppings, turning meal prep into a family activity.
FAQs
-
Can I make the sliders ahead of time?
Yes! You can prepare the turkey mixture a day in advance and store it in the fridge. Assemble and bake when ready to serve. -
What can I use instead of ground turkey?
Ground chicken, plant-based meat alternatives, or even finely chopped vegetables can work well for a different twist. -
Can these sliders be frozen?
Absolutely. They freeze well; wrap them tightly in plastic wrap and place them in a freezer-safe bag for up to three months. -
What is the best way to reheat leftovers?
The oven is the best method to reheat sliders while keeping them from drying out. -
How can I make these sliders gluten-free?
Use gluten-free slider buns to make the entire recipe gluten-free suitable.
Disclaimer
Keep in mind that the nutritional values are approximate and ingredients can vary based on specific brands and preparations used. Always check packaging for the most accurate nutritional information.