
Fruity Pebbles Sushi
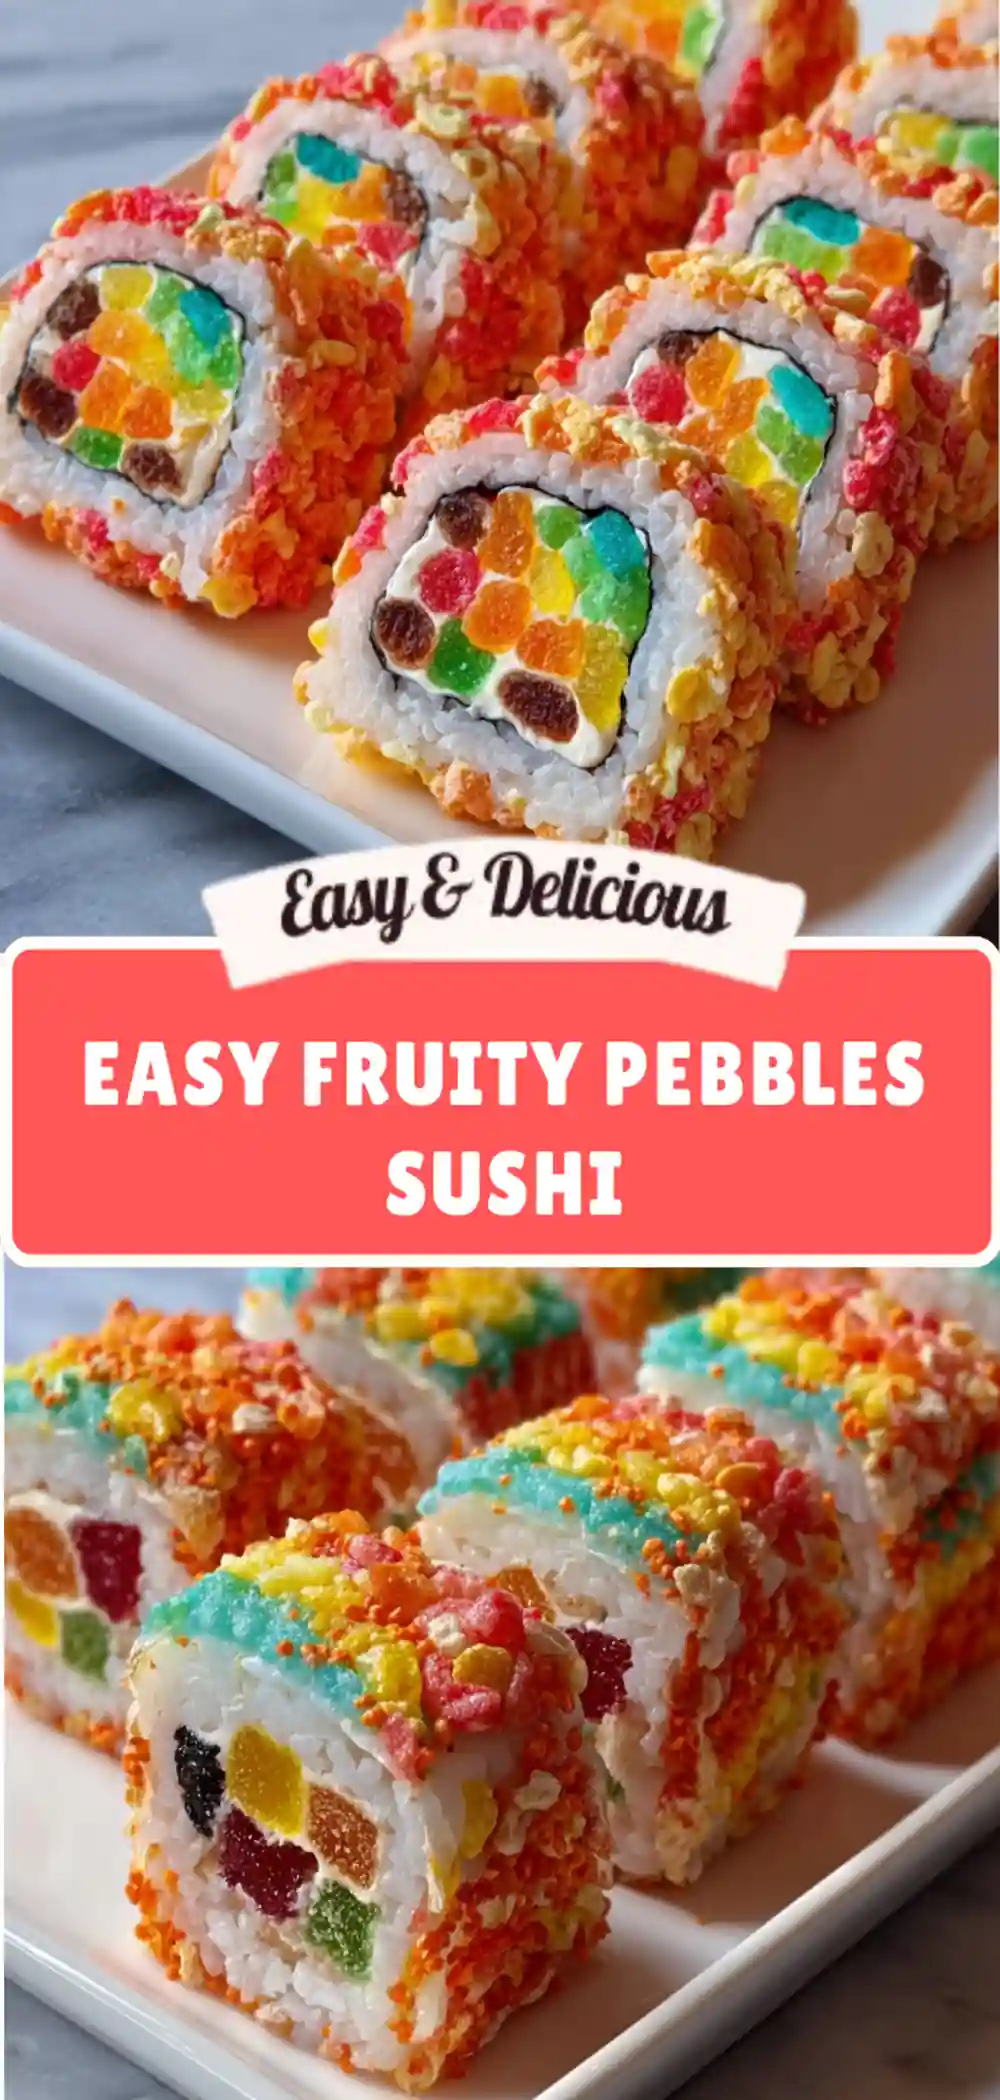
Looking for a colorful, no-bake treat that kids and adults will both love? 🍭 This Easy Fruity Pebbles Sushi recipe is a fun twist on classic cereal bars—rolled up into bite-sized “sushi” pieces perfect for parties, holidays, or after-school snacks.
🕒 Prep Time: 15 minutes
🕒 Cook Time: 0 minutes (no-bake)
🕒 Total Time: 15 minutes
Ingredients
- 4 cups Fruity Pebbles cereal
- 3 tablespoons unsalted butter
- 1 (10 oz) bag mini marshmallows
- ½ teaspoon vanilla extract
- ½ cup gummy bears, gummy worms, or fruit leather (for “filling”)
- Optional: melted white chocolate or candy melts for drizzle
Step-by-Step Instructions
Step 1: Melt the Butter and Marshmallows
In a large saucepan, melt the butter over low heat. Add mini marshmallows and stir until completely melted and smooth. Stir in the vanilla extract for extra flavor.
Step 2: Mix in the Fruity Pebbles
Remove from heat and gently fold in Fruity Pebbles cereal until fully coated. Make sure every piece gets a marshmallow hug—it keeps your sushi chewy and sweet.
Step 3: Roll Out the Mixture
Place a sheet of parchment paper on a flat surface. Lightly spray a rolling pin (or your hands) with nonstick spray. Spread the Fruity Pebbles mixture into a large rectangle about ½ inch thick. Work quickly before it sets!
Step 4: Add the “Sushi” Filling
Lay gummy worms, gummy bears, or strips of fruit leather across one edge of the rectangle. These will be your fun “sushi fillings.”
Step 5: Roll It Up
Starting at the edge with the gummy candy, gently roll the Fruity Pebbles rectangle into a tight log, just like a sushi roll. Use the parchment paper to help guide the roll without sticking.
Step 6: Slice into Pieces
Once rolled, let it cool for 5 minutes. Using a sharp knife, cut into 1-inch slices to create colorful sushi pieces. Wipe the knife between cuts to keep edges neat.
Step 7: Optional Decoration
For extra flair, drizzle with melted white chocolate, candy melts, or sprinkle additional Fruity Pebbles on top before serving.
Pro Tips for Success
- Nonstick trick: Always spray your hands, spatula, or rolling pin with cooking spray before handling the mixture.
- Mix-ins: Swap gummies with mini marshmallows, licorice, or even dried fruit for variety.
- Make-ahead: Store leftovers in an airtight container at room temperature for up to 2 days (they’re best fresh!).
Nutrition Info (Per Piece)
| Serving Size | Calories | Protein | Carbs | Fat | Fiber | Sugar |
|---|---|---|---|---|---|---|
| 1 piece | 120 | 1g | 26g | 2g | 0g | 15g |
Disclaimer: Nutrition facts are estimated using online calculators and may vary based on your ingredients and portion size.
Why You’ll Love This Recipe
- Kid-friendly fun: Bright, colorful, and perfect for birthday parties or school events.
- No-bake dessert: Quick to prepare with minimal cleanup.
- Pinterest-worthy: Eye-catching presentation that looks just like sushi!
Serving Ideas
- Arrange Fruity Pebbles Sushi on a wooden sushi board for a playful dessert platter.
- Pair with chopsticks for a fun themed party snack.
- Add dipping “sauces” like strawberry syrup or melted chocolate for extra sweetness.
Final Thoughts
This Easy Fruity Pebbles Sushi recipe is a playful, colorful, and kid-approved twist on traditional cereal bars. With just a handful of ingredients and no oven required, you’ll have a sweet treat ready in minutes. Whether you’re making them for a kids’ party, holiday dessert table, or just a fun snack night at home, these rainbow “sushi” rolls are guaranteed to bring smiles.