
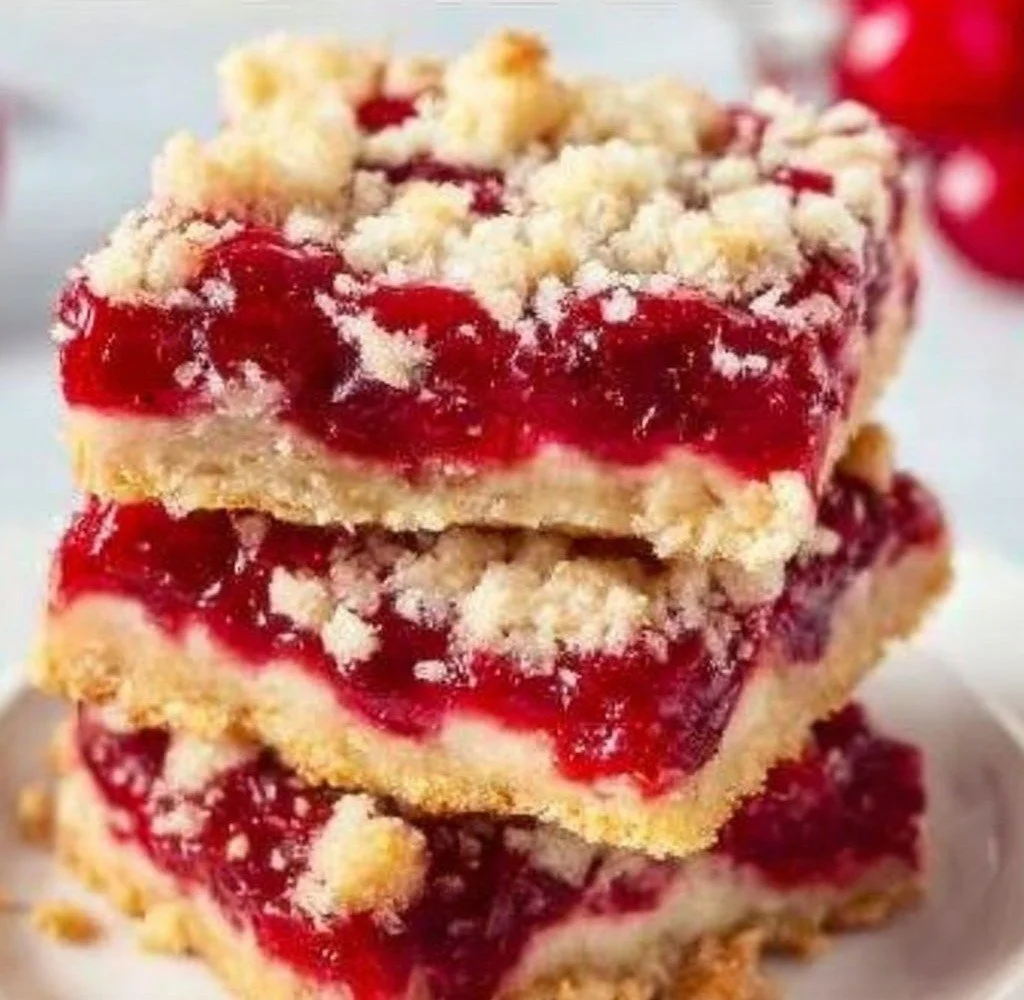
Cherry Pie Bars
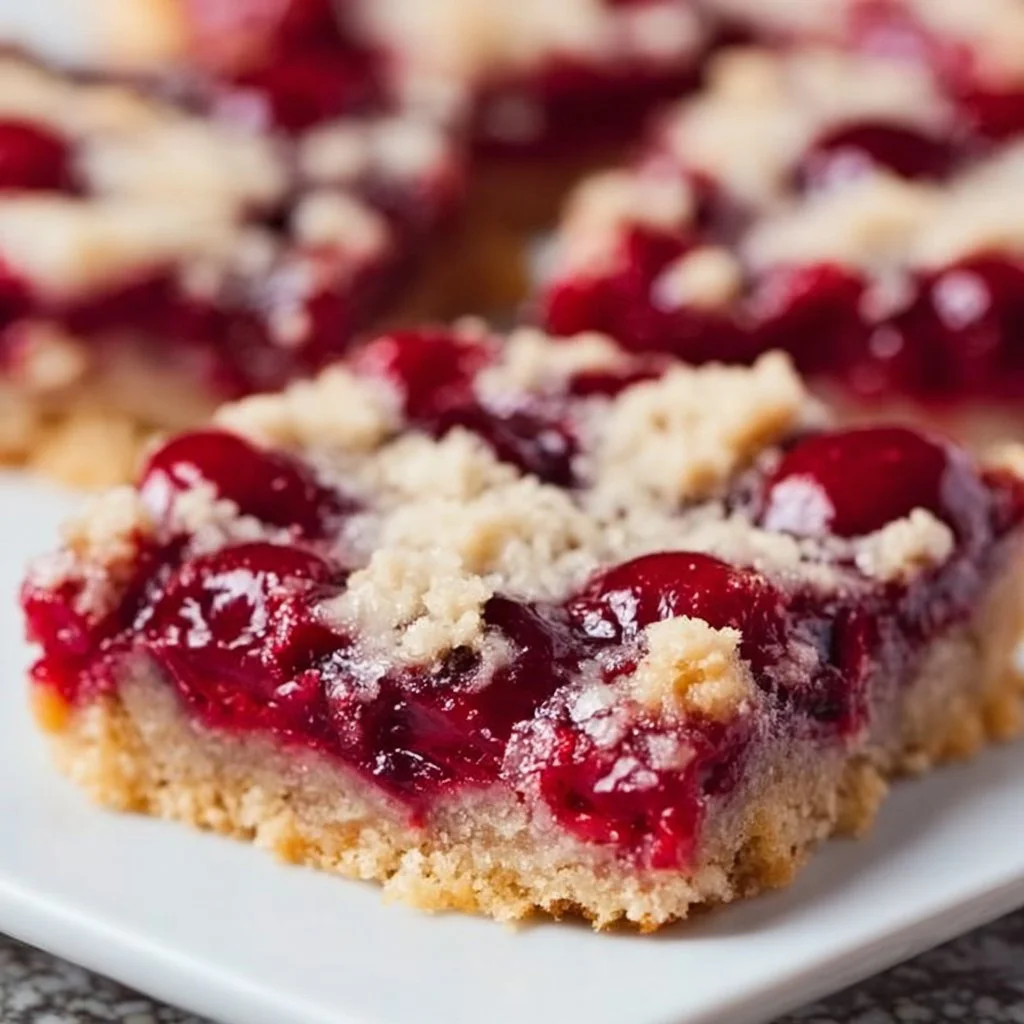
If you’re in the mood for a dessert that’s both sweet and delightful, Cherry Pie Bars are a fantastic choice. Imagine a buttery crust layered with bright, tangy cherry filling and topped with a crunchy oat crumble. These bars are not only visually appealing but offer a delicious blend of textures, with the smooth filling contrasting perfectly against the crumbly topping. They make for a wonderful treat at gatherings, family dinners, or even as an afternoon snack with your favorite cup of tea.
There’s something special about serving Cherry Pie Bars. They evoke a nostalgia for summer picnics while being versatile enough for year-round enjoyment. Whether you’re bringing them to a potluck or serving them as a comforting dessert after dinner, these bars are sure to impress. Plus, they are straightforward to make, allowing you to whip them up quickly, even on busy days.
Nutrition & Recipe Details
| Item | Value |
|---|---|
| Prep time | 15 minutes |
| Cook time | 45 minutes |
| Store time | 4 days |
| Calories | 250 per bar |
| Protein | 3g |
| Carbohydrates | 35g |
| Fat | 12g |
How to make Cherry Pie Bars
Ingredients:
| Ingredient | Quantity |
|---|---|
| Unsalted butter, softened | 1 cup |
| Granulated sugar | 1/2 cup |
| All-purpose flour | 2 cups |
| Salt | 1/4 teaspoon |
| Cherry pie filling | 1 can |
| Rolled oats | 1/2 cup |
| Brown sugar | 1/2 cup |
| Cinnamon | 1/2 teaspoon |
| Powdered sugar | 1 cup |
| Milk | 2 tablespoons |
Step-by-Step Instructions:
- Preheat the oven to 350°F (175°C). Grease a 9×13 inch baking dish.
- In a bowl, cream together the butter and sugar until smooth. Stir in the flour and salt until just combined. Press the mixture into the bottom of the prepared baking dish to form the crust.
- Bake the crust for 15-20 minutes until lightly golden.
- Remove from the oven and spread the cherry pie filling evenly over the crust.
- In another bowl, mix oats, brown sugar, cinnamon, and melted butter to create the crumble topping. Sprinkle over the cherry filling.
- Return to the oven and bake for an additional 20-25 minutes until the topping is golden brown.
- Let cool completely. In a small bowl, mix powdered sugar with milk to create a glaze, then drizzle over the cooled bars before cutting into squares.
Pro Tips:
| Tip | Description |
|---|---|
| Use fresh cherries | If you have fresh cherries, you can make your own filling for an even more vibrant flavor. |
| Let them cool | Allow the bars to cool completely before cutting for cleaner slices and better texture. |
| Try different fruits | Swap the cherry filling for blueberry or peach for a fun twist on this recipe. |
Why You’ll Love This Recipe:
Cherry Pie Bars are beloved for their wonderful combination of flavors and textures. The sweetness of the cherry filling contrasts beautifully with the crispy oat topping and buttery crust, making each bite irresistible. This recipe is simple to master, which means you’ll be able to recreate this treat without any hassle, impressing friends and family alike.
Not to mention, they can easily fit into different lifestyles. Whether you’re looking for a snack for a birthday party, a comforting dessert after dinner, or a sweet addition to a picnic, these bars do the trick. The warming cherry flavor can evoke happy memories, making them a delightful addition to any gathering.
How to serve Cherry Pie Bars
Presentation is key, even for desserts! To serve Cherry Pie Bars, consider cutting them into neat squares and placing them on a decorative platter. You could add a dollop of whipped cream or a scoop of vanilla ice cream on the side.
Pairing these bars with a hot cup of coffee or iced tea enhances the experience. For special occasions, consider garnishing with a sprig of mint for a pop of color.
How to store Cherry Pie Bars
Cherry Pie Bars can be stored in several ways to keep them delicious for days. In the fridge, place them in an airtight container where they’ll last for about 4 days. If you want to keep them longer, you can freeze them. Just wrap individual bars in plastic wrap and place them in a freezer-safe bag. They should last for up to 3 months.
For shelf storage, keep them cool and dry in a sealed container for up to 2 days. However, they’re always best enjoyed fresh!
Tips to make Cherry Pie Bars
To enhance your Cherry Pie Bars, ensure that your butter is at room temperature for better blending. You can also experiment with the spices—a pinch of nutmeg can add a warm flavor profile.
Timing is essential, too. Keep an eye on the topping while it’s baking to ensure it doesn’t over-brown. You want it golden, not burnt!
Variation
Looking to mix things up? Here are a few variations to consider:
- Gluten-Free: Substitute all-purpose flour with a gluten-free flour blend.
- Nutty Crunch: Add chopped nuts, like pecans or walnuts, into the crumble for extra crunch.
- Vegan Option: Use a vegan butter substitute and plant-based milk to create a dairy-free version.
Storage and Reheating
If you have leftovers, reheating them is easy! For a quick option, place them in the microwave for about 15-20 seconds until warm. If you’re reheating a larger batch, preheat your oven to 350°F (175°C) and bake for about 10 minutes until warmed through.
Make sure to keep them covered to prevent drying out.
Customization Ideas
Feel free to adjust the flavors by adding vanilla or almond extract to the crust for an extra layer of taste. You can also change up the toppings—why not try a drizzle of chocolate or a sprinkle of coconut flakes for a twist?
Switching the cherry filling with seasonal fruits can also provide new flavors pleasing for your palate!
Common Mistakes to Avoid
- Overmixing the Crust: This can lead to a tough texture. Mix just until everything is combined.
- Not Cooling Enough: Cutting into the bars too soon means they won’t hold their shape properly.
- Ignoring the Baking Time: Keep an eye on the topping; it should be golden brown, not dark.
- Using Cold Butter: Ensure your butter is softened for easy blending with sugars.
- Underestimating Portion Sizes: These bars can be rich, so cut them into smaller squares for serving.
Serving Occasions
Cherry Pie Bars are perfect for a variety of occasions. Serve them at family gatherings, holiday parties, or simple get-togethers with friends. They also make a delightful treat for school bake sales or potlucks, and are just as wonderful enjoyed alone as a quick afternoon snack.
Why make this recipe
This recipe stands out due to its ease and delicious results. Unlike traditional cherry pies, which can be cumbersome to make and serve, these bars simplify the process. You get all the beloved flavors of pie with much less fuss—no worrying about a crust that won’t cooperate!
Plus, the bars lend themselves well to sharing, so you can delight your loved ones with a batch made straight from the oven. They are sure to become a staple in your baking repertoire!
FAQs
-
Can I use fresh cherries instead of pie filling?
- Absolutely! You can pit and slice fresh cherries, then mix them with sugar and a bit of cornstarch for a homemade filling.
-
How can I tell when the bars are done?
- Look for a golden-brown topping and a bubbling cherry filling. A toothpick inserted should come out clean from the crumb topping.
-
Can I make these bars ahead of time?
- Yes! You can prepare them the day before and keep them in the fridge until you’re ready to serve.
-
What can I serve with these bars?
- They pair well with whipped cream, ice cream, or even yogurt to balance the sweetness.
-
How do I add more flavor to the cherry filling?
- Consider adding a splash of almond extract or a sprinkle of lemon zest for added depth.
Disclaimer:
Always remember that nutrition information is approximate. Ingredients may vary based on brands, freshness, and preparation methods. Enjoy making these delicious Cherry Pie Bars!