
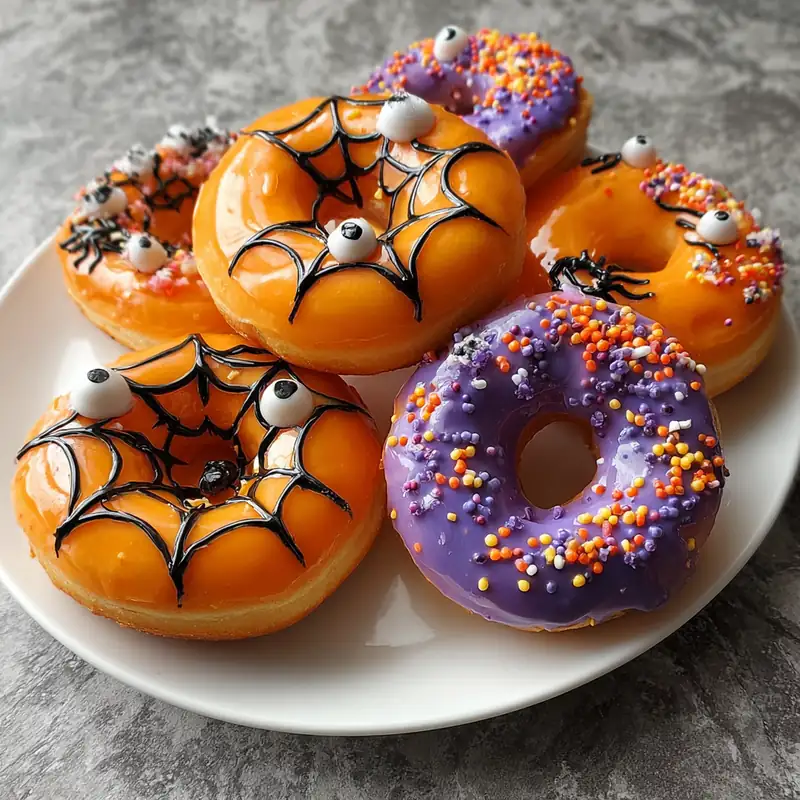
Halloween treats don’t have to be complicated, and these Easy Halloween Donuts are the perfect example. They are colorful, festive, sweet, and incredibly simple to prepare. With refrigerated biscuit dough, a quick homemade glaze, and a selection of spooky decorations, you can turn a few basic ingredients into a fun Halloween dessert that looks like it came straight from a bakery.
These donuts are especially great for families because decorating them can be just as enjoyable as eating them. Kids can choose their favorite glaze colors, add candy eyes, sprinkle on Halloween decorations, and create their own spooky donut designs.
Whether you’re planning a Halloween party, preparing treats for a school event, or simply looking for a fun October dessert, these donuts are an easy option that doesn’t require complicated baking techniques.
They can also be customized in countless ways. Create green monster donuts, orange pumpkin donuts, spooky purple donuts, mummy designs, or creepy spiderwebs. You can even set up a DIY Halloween donut bar and let everyone decorate their own.
Why You’ll Love These Halloween Donuts
There are plenty of reasons to make these donuts during Halloween season.
First, they are quick. The entire recipe takes approximately 25 minutes from start to finish, making it ideal when you need a festive dessert without spending hours in the kitchen.
Second, the ingredients are simple. Refrigerated biscuit dough does most of the work, while powdered sugar, milk, vanilla, and food coloring create an easy glaze.
Finally, the decorating possibilities are almost endless. You can use Halloween sprinkles, candy eyes, chocolate drizzle, icing, and colorful decorations to create a variety of designs from the same batch of donuts.
Prep Time and Cook Time
Prep Time: 10 minutes
Cook Time: 15 minutes
Total Time: 25 minutes
Ingredients
For the donuts, you will need:
- 1 can refrigerated biscuit dough
- 2 cups vegetable oil for frying
For the glaze:
- 1 cup powdered sugar
- 2–3 tablespoons milk
- 1 teaspoon vanilla extract
- Orange, black, green, and purple food coloring
For decorating:
- Halloween sprinkles
- Candy eyes
- Melted chocolate
- Black icing
- White icing
- Additional Halloween candies, optional
You can use homemade biscuit or donut dough if you prefer, but refrigerated biscuit dough makes this recipe especially quick and convenient.
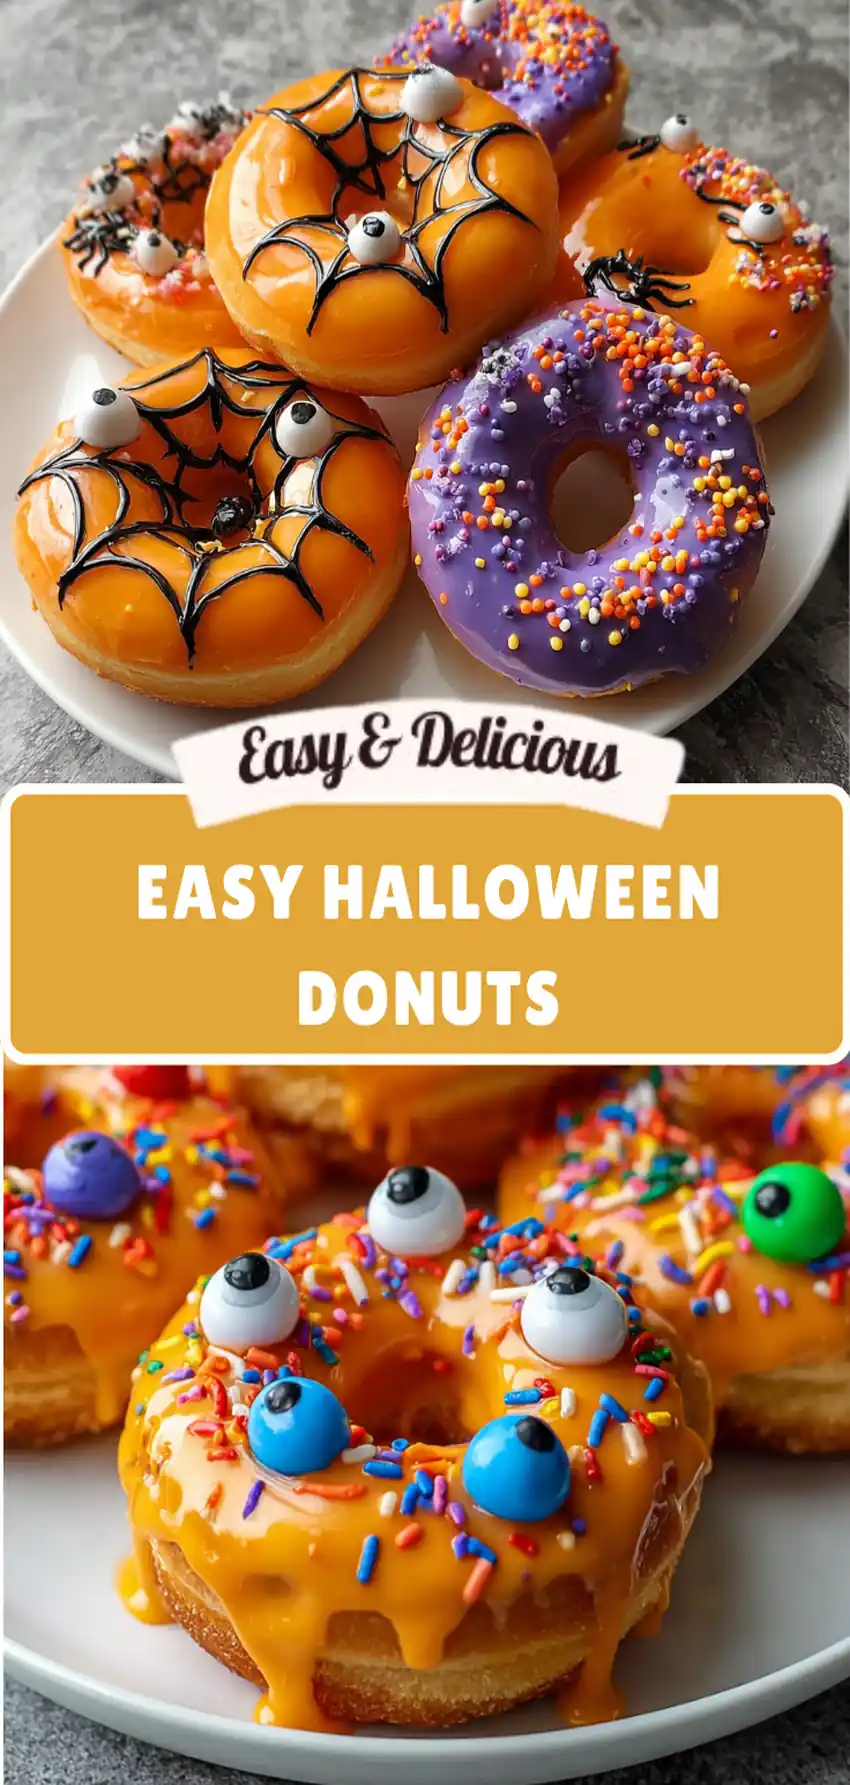
How to Make Easy Halloween Donuts
Step 1: Prepare the Dough
Open the refrigerated biscuit dough and separate the biscuits.
Place each biscuit on a clean work surface.
To create the classic donut shape, use a small round cutter to remove the center. If you don’t have a small cookie cutter, you can use the cap from a clean bottle.
Make sure the center hole is large enough to remain open during frying.
Save the small pieces of dough from the centers. You can fry them separately to make small donut holes, which are perfect for snacking or decorating.
Step 2: Heat the Oil
Pour the vegetable oil into a deep skillet, heavy saucepan, or deep pot.
Heat the oil to approximately 350°F (175°C).
A kitchen thermometer is the easiest way to check the temperature.
If you don’t have a thermometer, test the oil by carefully dropping in a tiny piece of dough. It should immediately begin to sizzle and gradually turn golden.
Avoid heating the oil too much. If the oil is excessively hot, the outside of the donuts can brown before the inside has cooked properly.
If the oil is too cool, the donuts may absorb too much oil and become greasy.
Step 3: Fry the Donuts
Once the oil reaches the correct temperature, carefully place 2–3 donuts into the hot oil.
Don’t overcrowd the pan because adding too many donuts can cause the oil temperature to drop.
Fry the donuts for approximately 1–2 minutes per side, or until they become golden brown.
Use a slotted spoon or tongs to carefully turn them.
Once golden and cooked through, remove the donuts from the oil and place them on a plate or baking sheet lined with paper towels.
Allow the excess oil to drain.
Continue with the remaining dough until all the donuts are cooked.
Step 4: Prepare the Glaze
While the donuts are cooling slightly, prepare the glaze.
Add the powdered sugar to a medium bowl.
Gradually whisk in the milk and vanilla extract until the mixture becomes smooth.
If the glaze is too thick, add a small amount of milk. If it is too thin, add a little more powdered sugar.
The ideal glaze should be thick enough to coat the donut but still smooth enough to dip easily.
Step 5: Create Halloween Colors
Divide the glaze between several small bowls.
Add a few drops of food coloring to each bowl.
Use orange for pumpkin donuts, green for monsters or slime, purple for witches and spooky designs, and black for a darker Halloween theme.
You can also create white glaze for ghosts and mummies.
Add food coloring gradually until you reach the desired shade.
Step 6: Dip the Donuts
Once the donuts have cooled enough to handle, dip the top of each donut into the colored glaze.
Lift the donut carefully and allow excess glaze to drip back into the bowl.
Place the glazed donut on a cooling rack or parchment-lined tray.
Work with one donut at a time while the glaze is still wet.
This is important because the decorations will stick much better before the glaze begins to set.
Step 7: Add the Decorations
Immediately add Halloween sprinkles, candy eyes, chocolate drizzle, or other decorations.
For monster donuts, place candy eyes in different positions to create funny faces.
For pumpkin donuts, use orange glaze and add a small green icing stem.
For mummy donuts, use white glaze and pipe thin lines across the surface.
For spiderweb donuts, use black glaze and pipe white icing in a spiral pattern.
The decorating stage is where everyone can get creative.
Step 8: Let the Glaze Set
Place the decorated donuts on a cooling rack and allow them to sit for approximately 5–10 minutes.
This gives the glaze time to firm up and prevents decorations from sliding off.
Once the glaze is set, serve the donuts fresh.
Fun Halloween Donut Ideas
Mummy Donuts
Dip the donuts in white glaze.
Once the glaze begins to set, pipe thin white icing lines across the top in slightly irregular patterns.
Add two candy eyes between the lines.
The result is a simple mummy design that looks especially cute on a Halloween dessert table.
Pumpkin Donuts
Use bright orange glaze to cover the donuts.
Add a small green icing stem near the top.
You can also use dark chocolate icing to create simple pumpkin lines.
Arrange several pumpkin donuts together for a colorful fall-inspired display.
Monster Donuts
Use bright green glaze and add several candy eyes.
Use purple or black sprinkles to create hair or other details.
Try using different numbers and sizes of candy eyes so every monster looks unique.
Spiderweb Donuts
Start with black glaze.
Once the donut is coated, pipe white icing in several circles or a spiral.
Use a toothpick to drag lines from the center outward.
This creates a simple spiderweb pattern.
For an extra spooky effect, place a small candy spider in the center.
Ghost Donuts
Use white glaze and add two small candy eyes.
You can also use black icing to add a small mouth.
These donuts are simple but make a great addition to a Halloween platter.
Tips for Perfect Halloween Donuts
The temperature of the frying oil is one of the most important parts of this recipe.
If the oil is too hot, the donuts can become dark on the outside before the inside has cooked.
If the oil is too cool, the donuts can absorb excessive oil.
Try to maintain the oil close to 350°F (175°C) throughout cooking.
Don’t overcrowd the pan. Frying only a few donuts at a time allows them to cook more evenly.
Allow the donuts to drain on paper towels after frying.
When preparing the glaze, add milk gradually. It’s much easier to thin a thick glaze than to fix one that has become too watery.
For the best decorating results, apply sprinkles and candy while the glaze is still wet.
How to Make Baked Halloween Donuts
If you prefer not to fry the donuts, you can use the biscuit dough for a baked version.
Preheat the oven to 375°F (190°C).
Place the prepared biscuit donuts on a lightly greased or parchment-lined baking sheet.
Bake for approximately 12–15 minutes, or until the donuts are cooked through and lightly golden.
Allow them to cool before dipping them into the colored glaze.
The baked version will have a different texture from fried donuts, but it is a convenient alternative if you prefer to avoid frying.
Make-Ahead Instructions
These donuts are best served fresh, but you can prepare them a few hours before your event.
Fry the donuts earlier in the day and allow them to cool completely.
Prepare the glaze separately and keep it covered.
Decorate the donuts a few hours before serving.
Once decorated, place them in a single layer in an airtight container.
Avoid stacking heavily decorated donuts because the glaze and candy decorations can stick together.
How to Store Halloween Donuts
For the best texture, serve these donuts on the same day they are prepared.
If necessary, store them in an airtight container at room temperature for several hours.
Avoid storing them in a humid environment because moisture can cause the glaze to become sticky.
If you have leftover donuts, they can generally be kept for the next day, although they will be best when fresh.
Create a DIY Halloween Donut Bar
One of the most fun ways to serve these donuts is to create a DIY decorating station.
Prepare a batch of plain fried or baked donuts.
Place different glaze colors in small bowls.
Then set out toppings such as:
- Candy eyes
- Halloween sprinkles
- Mini chocolate candies
- Melted chocolate
- Gummy candies
- Colored icing
- Small Halloween decorations
Let children and adults choose their own glaze and toppings.
This turns dessert into an activity and works particularly well for Halloween parties.
You can even create different decorating categories, such as “scariest donut,” “funniest monster,” or “best pumpkin.”
How to Serve Halloween Donuts
Arrange the finished donuts on a large Halloween-themed platter.
Use a combination of different designs to make the presentation colorful and interesting.
For a Halloween breakfast, serve them with milk, coffee, hot chocolate, or another favorite drink.
For a party, place the donuts alongside cookies, cupcakes, candy, popcorn, or other Halloween snacks.
You can also package individual donuts in small clear treat bags and give them to guests as party favors.
Frequently Asked Questions
Can I use homemade dough?
Yes. Homemade donut or biscuit dough can be used instead of refrigerated biscuit dough. The refrigerated option simply makes the recipe faster and easier.
Can I bake these donuts instead of frying them?
Yes. Bake them at 375°F (190°C) for approximately 12–15 minutes, then allow them to cool before decorating.
Why are my donuts greasy?
The oil may not have been hot enough. Try maintaining the temperature close to 350°F (175°C) and avoid overcrowding the pan.
How do I keep the decorations from falling off?
Add sprinkles, candy eyes, and other decorations while the glaze is still wet. Once the glaze begins to harden, toppings may not stick properly.
Can children help make these?
Yes. Children can help with dipping and decorating once the donuts have cooled. Adults should handle the hot oil and supervise the process.
Can I use different glaze colors?
Absolutely. Halloween colors such as orange, black, green, purple, and white work beautifully, but you can use any colors you like.
Nutrition Information
The approximate nutrition per donut is:
Calories: 280
Protein: 4g
Carbohydrates: 32g
Fat: 15g
Fiber: 1g
Sugar: 14g
Nutrition information is an estimate and may vary depending on the dough, oil absorption, glaze, toppings, and specific brands used.
Why These Donuts Are Perfect for Halloween
Halloween desserts don’t always need complicated decorations or advanced techniques.
These donuts prove that a simple base can become something special with a little creativity. The combination of golden fried dough, colorful glaze, and spooky toppings creates a dessert that looks festive while remaining easy enough for beginners.
They are also budget-friendly because most of the ingredients are simple pantry or grocery-store staples.
Whether you’re making a small batch for your family or preparing a large platter for a party, you can easily adjust the decorations to match your theme.
Final Thoughts
These Easy Halloween Donuts are the ultimate spooky seasonal treat. They are quick to prepare, simple to customize, and incredibly fun to decorate.
From colorful monsters and cute pumpkins to creepy spiders, ghosts, and mummies, you can create an entire Halloween dessert collection from one easy recipe.
The donuts are especially enjoyable when everyone gets involved in the decorating process. Kids can choose their favorite colors and toppings, while adults can experiment with more detailed designs such as spiderwebs and mummy wraps.
Whether you’re hosting a Halloween party, preparing treats for friends, or simply looking for a fun October dessert, these donuts are sure to become a seasonal favorite.
So grab your biscuit dough, prepare your colorful glaze, gather your favorite Halloween candies, and get ready to create a batch of spooky donuts that are just as fun to make as they are to eat!