
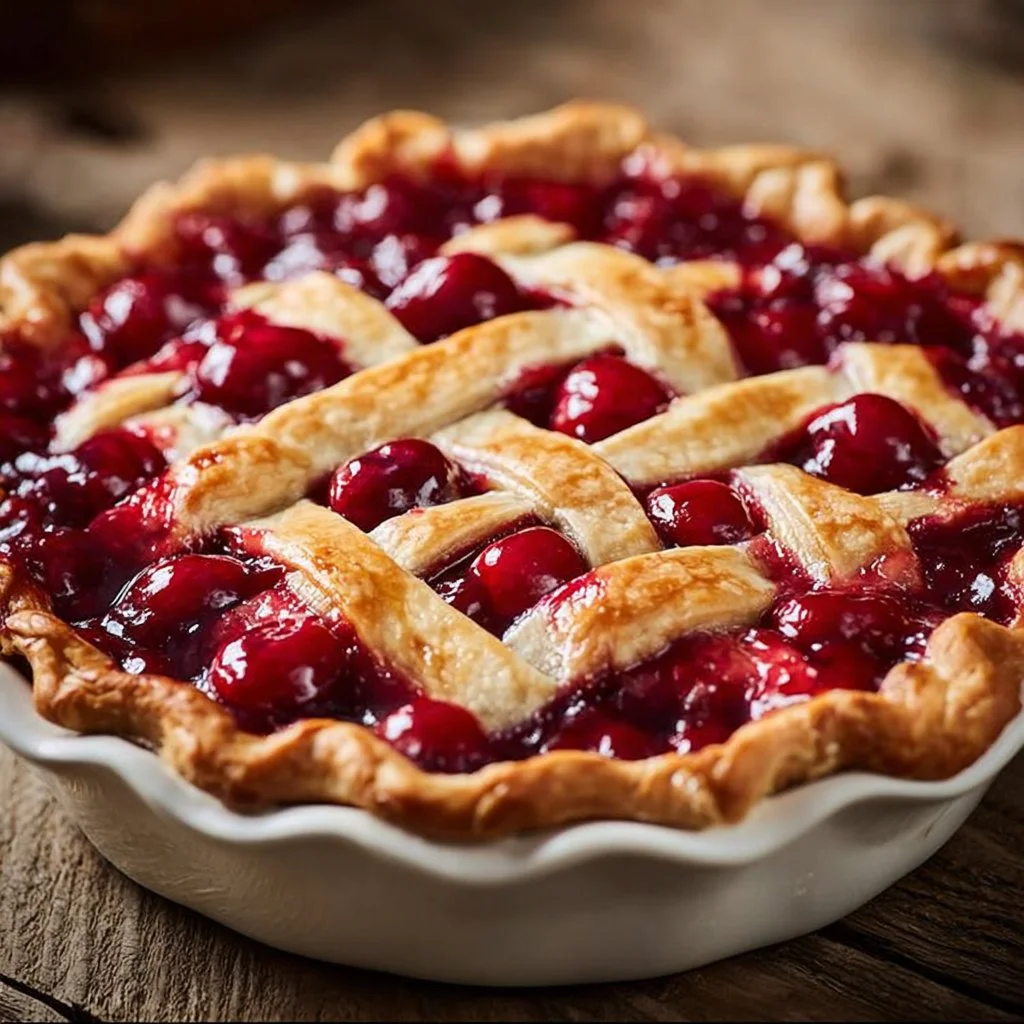
Cherry Pie Filling
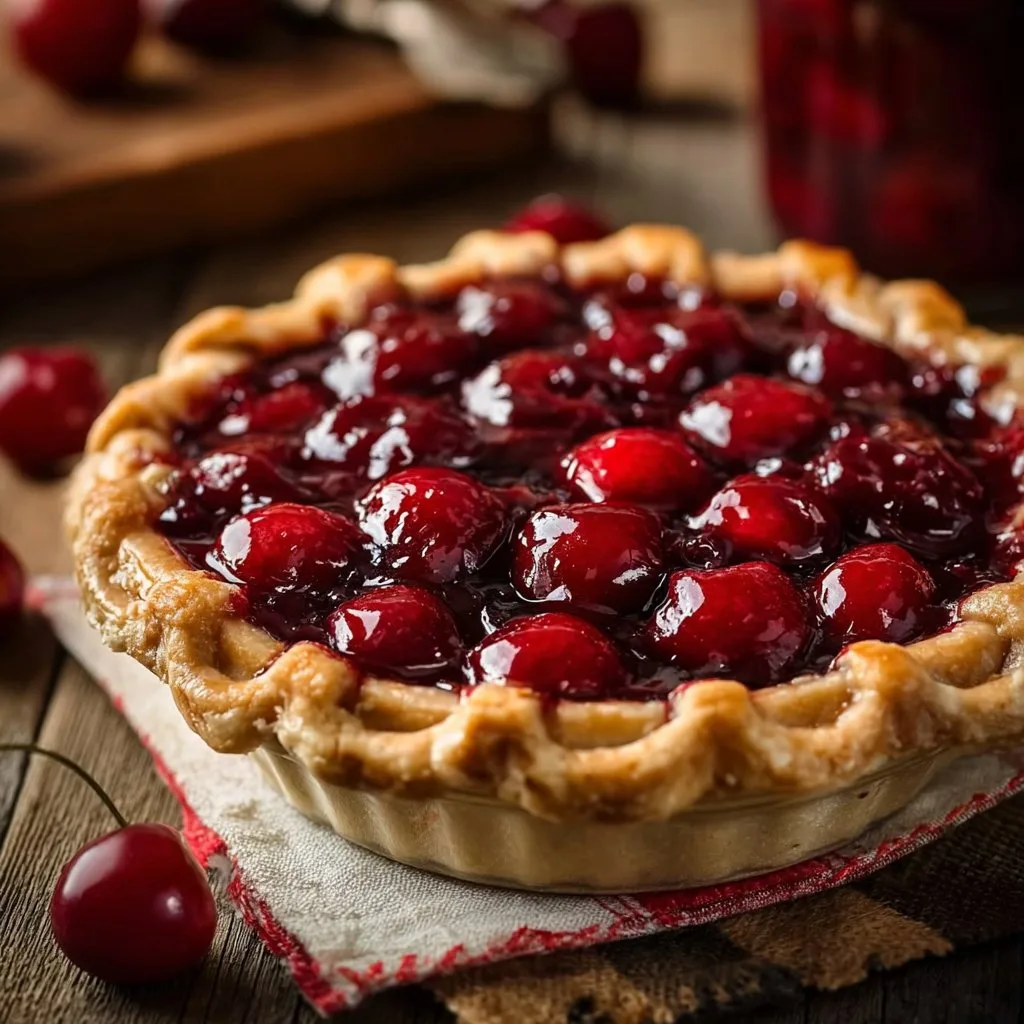
There’s something undeniably comforting about cherry pie filling. This luscious, sweet-tart concoction is perfect for enhancing your favorite desserts or even enjoying on its own. With its vibrant red hue and a texture that’s both juicy and velvety, cherry pie filling is a delightful treat for the palate. Whether you’re making a classic cherry pie, a sundae, or just drizzling it over pancakes, this filling is a crowd-pleaser any time of the year.
This cherry pie filling shines during special celebrations, like summer barbecues or holiday gatherings. It can also elevate a cozy family dinner or serve as a quick snack during a busy afternoon. No matter the occasion, this filling never fails to impress.
Prep Time, Cook Time, Total Time:
Prep Time: 10 min | Cook Time: 10 min | Total Time: 20 min
How to Make Cherry Pie Filling
Ingredients:
- 4 cups fresh pitted cherries
- 1 cup granulated sugar
- ¼ cup cornstarch
- 2 tbsp lemon juice
- 1 tsp pure vanilla extract
Step-by-Step Instructions:
- Wash and pit the cherries: Start by washing your cherries thoroughly and removing the pits. This is essential, as no one wants a surprise pit in their dessert. You can use a cherry pitter for a smoother job, allowing you to enjoy the cherries without any hassle.
- Combine cherries with sugar and lemon juice: In a large bowl, mix the pitted cherries with sugar and lemon juice. Let this sit for about 10 minutes. The sugar will draw out the natural juices from the cherries, creating a lovely cherry syrup.
- Add cornstarch: Sprinkle cornstarch over the cherry mixture and stir it until fully combined. This step is crucial as cornstarch acts as a thickening agent for the filling, ensuring it sets perfectly without being overly runny.
- Cook the mixture: Transfer the cherry mixture to a saucepan over medium heat. Cook while stirring until it becomes bubbly and thickened, which should take about 5 to 10 minutes. Watching it carefully will ensure the filling doesn’t burn or stick to the bottom of the pan.
- Finish with vanilla: Remove the saucepan from heat and stir in the vanilla extract. This adds a wonderful aroma and flavor enhancement. Allow the filling to cool slightly before using it in your favorite dessert.
Pro Tips
- Fresh vs. Frozen Cherries: While fresh cherries are ideal for the best flavor, frozen cherries can work well too. Just ensure they’re fully thawed and drained before use to avoid excess moisture.
- Adjust Sweetness: Depending on personal preference and the natural sweetness of your cherries, feel free to adjust the sugar. If you’re using tart cherries, a bit more sugar may be needed.
- Thicker Filling: If you prefer an even thicker filling, consider adding an extra tablespoon of cornstarch to the mixture. Just be sure to dissolve it in a bit of cold water before adding it to avoid clumps.
- Flavor Boost: Experiment with adding spices like cinnamon or nutmeg. A pinch can elevate the flavor profile and offer a warm, cozy taste.
- Make Ahead: Cherry pie filling can be made ahead of time and stored, making it a convenient option for gatherings or last-minute desserts.
Why You’ll Love This Recipe
The flavor of homemade cherry pie filling is unmatched. It strikes a perfect balance between sweet and tart, making it versatile for a variety of dishes. Plus, it’s a simple recipe that takes very little time to prepare. Even if you’re a beginner in the kitchen, you’ll find this filling easy to make.
This cherry pie filling is naturally gluten-free and can fit well into vegetarian and vegan diets, depending on how it’s used. Serve it over vanilla ice cream, layer it in a parfait, or spoon it onto a piece of loaf cake. The simplicity of the recipe opens up a world of delicious variants!
How to Serve Cherry Pie Filling
When it comes to presentation, serving cherry pie filling can be as simple or elaborate as you wish. Use it to top classic vanilla ice cream for a delicious sundae, or serve it alongside pancakes for a twist on breakfast. Layering the filling with whipped cream and crushed graham crackers also makes for a stunning dessert bowl.
For drinks, consider serving with a refreshing lemonade or a glass of rich red wine. They both complement the cherry’s flavors beautifully. A dollop of whipped cream or a scoop of ice cream can also elevate the whole experience!
How to Store Cherry Pie Filling
Once you’ve made your cherry pie filling, storing it correctly is essential for maintaining its freshness. In the fridge, it can last for up to a week in an airtight container. If you want to keep it for longer, transfer it to the freezer; it will last for about 3 to 6 months. Just make sure to cool it completely before sealing it in a freezer-safe container or bag.
Tips to Make Cherry Pie Filling
- Be Mindful of Cooking Time: Overcooking can lead to a mushy texture, so keep an eye on it as it thickens.
- Taste Test Before Using: Before using the filling in dessert or as a topping, take a moment to taste it. You can always adjust the sweetness or acidity based on your preference.
- Don’t Skip the Lemon Juice: This ingredient is key in balancing the sweetness of the cherries and enhancing their flavor.
- Use Fresh Ingredients: Opt for fresh cherries when in season for the best flavor, as they offer a burst of freshness that frozen varieties can’t replicate.
Variation
- Vegan Cherry Pie Filling: This recipe is already vegan as it contains no animal products. Just ensure any additional toppings or crusts align with a vegan diet.
- Sugar-Free Option: You can replace granulated sugar with your favorite sugar substitute such as stevia or erythritol. Just adjust to taste.
- Add Other Fruits: Mix in blueberries or raspberries for a mixed berry filling. The combination of flavors makes for a delightful twist.
Nutrition Information
- Serving Size: 1/4 cup
- Calories: 120
- Protein: 1g
- Carbs: 30g
- Fat: 0g
- Fiber: 1g
- Sugar: 25g
This filling is quite high in carbohydrates, mostly from the natural sugars in cherries and added sugar, while being low in protein and fat. It’s a sweet treat, so consider portion sizes.
Storage and Reheating
To reheat leftovers, you have a few options. For the microwave, place the filling in a microwave-safe dish, cover, and heat for 30-second intervals until warmed through. If using an oven, transfer to a baking dish, cover with foil, and warm at 350°F (175°C) until heated. Remember to stir periodically to ensure even warming.
Customization Ideas
You can customize your cherry pie filling by adding different flavors. A splash of almond extract can provide a lovely depth. Topping it off with crushed nuts or granola can also add a delicious crunch.
Common Mistakes to Avoid
- Not Pitting the Cherries: Ensure all cherries are pitted for a smooth texture. An unpitted cherry can ruin the experience.
- Too Much Cornstarch: Using too much can lead to a gummy texture. Start with less and add more if needed.
- Skipping the Resting Time: Allowing the cherry mixture to sit before cooking is essential for flavor development.
- Cooking Too Long: Overheating can break down the fruit too much, resulting in a mushy filling. Check regularly!
- Forgetting to Stir: Regular stirring while cooking ensures even thickening and prevents sticking.
Serving Occasions
This cherry pie filling is perfect for a range of occasions, from dinner parties to family gatherings. It’s a simple but impressive addition to birthday parties, summer picnics, or holiday feasts. You can use it for casual weekend breakfasts or elegant desserts alike.
Why Make This Recipe
What makes cherry pie filling stand out is its vibrant color and perfectly balanced taste. Unlike store-bought versions, this recipe allows you to control the sweetness, ensuring it’s just right for your taste buds. Plus, the freshness of using real cherries elevates any dish it’s added to, leaving a memorable mark on every dessert.
FAQs
- Can I use frozen cherries? Yes, frozen cherries can be used, just ensure they are thawed and drained before proceeding.
- How do I make this recipe without sugar? You can substitute granulated sugar with a sugar alternative like stevia or monk fruit sweetener.
- What desserts can I use this filling in? You can use it for pies, on ice cream, as a topping for cheesecakes, or even mixed into yogurt.
- Can this recipe be doubled? Absolutely! Just adjust your cooking time slightly if you’re making a larger batch.
- How can I adjust the acidity? If you like it less tart, reduce the amount of lemon juice slightly.
Disclaimer: Nutrition information is approximate and will vary based on the specific ingredients you use.
Print
Cherry Pie Filling
- Total Time: 20 minutes
- Yield: 4 servings 1x
- Diet: Vegetarian
Description
A sweet-tart cherry pie filling perfect for pies, sundaes, and drizzling over pancakes.
Ingredients
- 4 cups fresh pitted cherries
- 1 cup granulated sugar
- ¼ cup cornstarch
- 2 tbsp lemon juice
- 1 tsp pure vanilla extract
Instructions
- Wash and pit the cherries thoroughly, removing all pits.
- Combine pitted cherries with sugar and lemon juice in a large bowl; let it sit for about 10 minutes.
- Sprinkle cornstarch over the cherry mixture and stir until fully combined.
- Cook the mixture in a saucepan over medium heat, stirring until bubbly and thickened (about 5 to 10 minutes).
- Remove from heat and stir in vanilla extract; allow to cool before using.
Notes
Consider adding spices like cinnamon for an extra flavor boost. Thicken the filling with more cornstarch if desired.
- Prep Time: 10 minutes
- Cook Time: 10 minutes
- Category: Dessert
- Method: Cooking
- Cuisine: American
Nutrition
- Serving Size: 1/4 cup
- Calories: 120
- Sugar: 25g
- Sodium: 5mg
- Fat: 0g
- Saturated Fat: 0g
- Unsaturated Fat: 0g
- Trans Fat: 0g
- Carbohydrates: 30g
- Fiber: 1g
- Protein: 1g
- Cholesterol: 0mg