
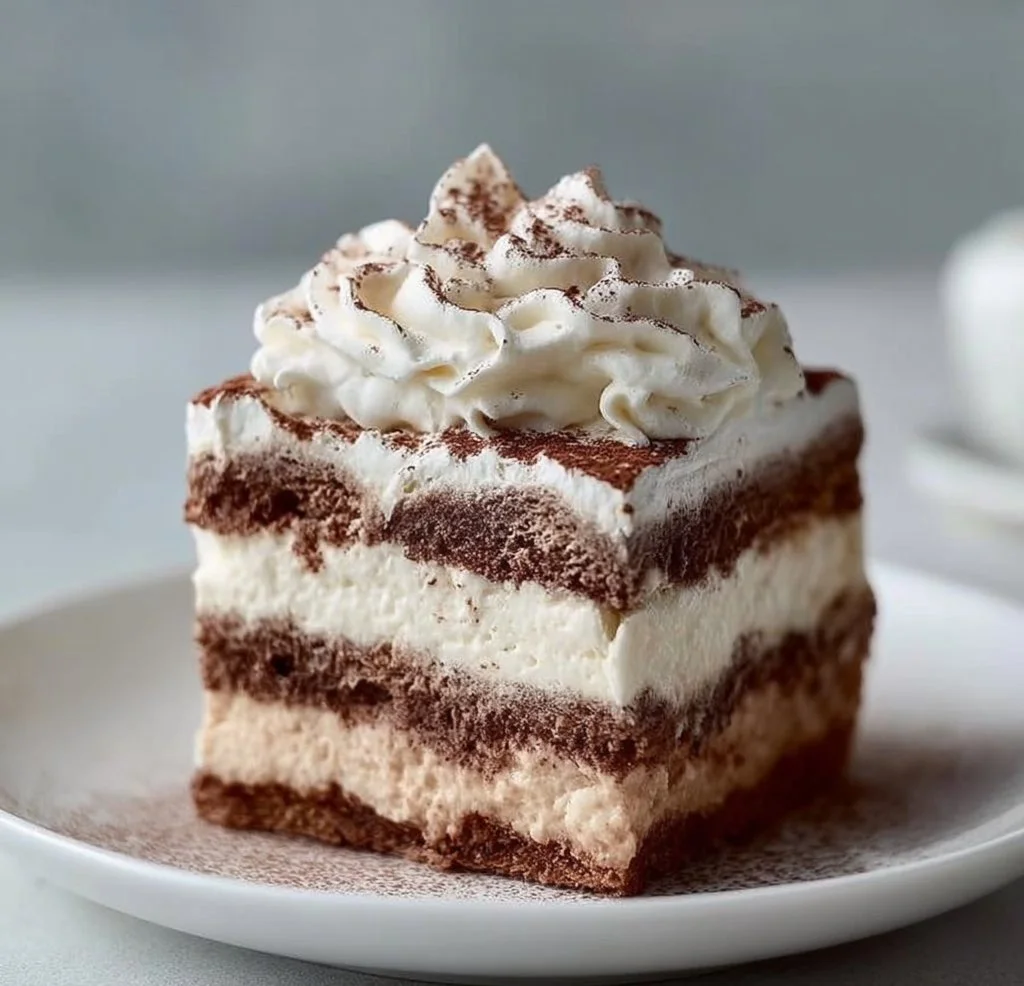
Layered Ice Cream Cake
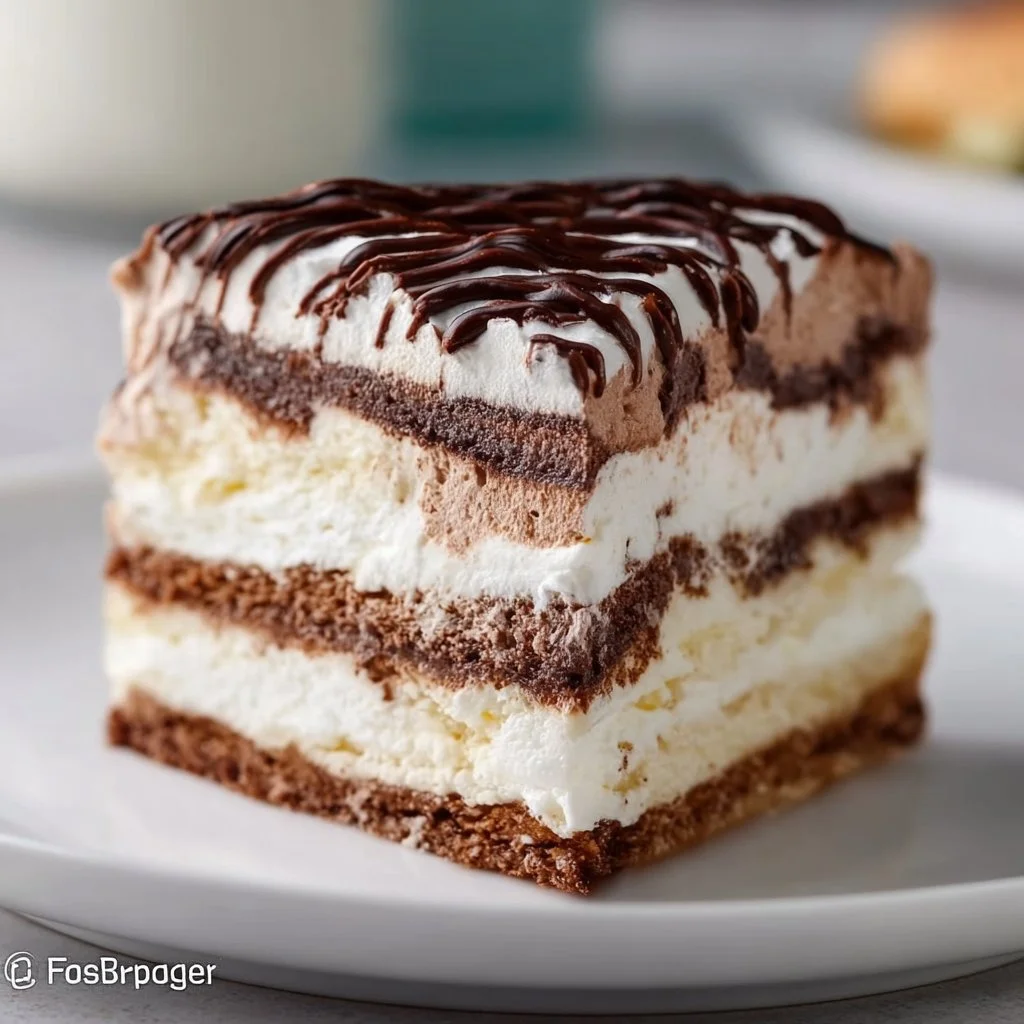
Layered Ice Cream Cake is a delightful treat that combines the deliciousness of ice cream with the fun of a cake structure. Each bite offers a creamy, smooth texture that melts in your mouth, making it the perfect dessert for any occasion. The combination of vanilla and chocolate ice cream layered with crunchy cookie bits creates an exciting contrast that pleases the palate and delights the senses.
This dessert is not only visually appealing but also incredibly versatile. It’s a fantastic choice for summer parties, birthdays, or family gatherings. Serve it on a hot day, and watch as everyone digs in with smiles on their faces. Plus, it’s easy to prepare ahead of time, which means less stress when entertaining guests.
Nutrition & Recipe Details:
| Item | Value |
|---|---|
| Prep time | 30 minutes |
| Cook time | 0 minutes |
| Store time | 6 hours |
| Calories | 350 per slice |
| Protein | 5g |
| Carbohydrates | 30g |
| Fat | 20g |
How to make Layered Ice Cream Cake
Ingredients:
| Ingredient | Quantity |
|---|---|
| Oreo cookies, crushed into fine crumbs | 2 cups (225g) |
| Unsalted butter, melted | 5 tbsp (70g) |
| Vanilla ice cream, slightly softened | 1.5 quarts (1.4L) |
| Chocolate ice cream, slightly softened | 1.5 quarts (1.4L) |
| Chocolate sandwich cookies, roughly chopped | 1 cup (150g) |
| Heavy whipping cream, cold | 2 cups (480ml) |
| Powdered sugar | 1/2 cup (60g) |
| Vanilla extract | 1 tsp (5ml) |
Step-by-Step Instructions:
- Line a 9×13-inch baking pan with parchment paper.
- Combine crushed Oreo cookies and melted butter; press into the bottom of the pan. Freeze for 10 minutes.
- Spread the softened vanilla ice cream over the crust.
- Sprinkle the chopped chocolate sandwich cookies over the vanilla layer.
- Top with the softened chocolate ice cream and freeze for at least 4 hours.
- Whip the cold heavy cream, powdered sugar, and vanilla extract until stiff peaks form.
- Spread the whipped cream over the frozen ice cream layers and add optional toppings.
- Freeze for an additional 2 hours before serving.
Pro Tips:
| Tip | Description |
|---|---|
| Freeze Layers Thoroughly | Make sure each ice cream layer is frozen solid before adding the next to avoid melting and mixing. |
| Use Softened Ice Cream | Allow the ice cream to sit out for a few minutes to soften, making it easier to spread and layer. |
| Add Fun Toppings | Consider adding sprinkles, chocolate chips, or fruit on top of the whipped cream for an extra special touch. |
Why You’ll Love This Recipe:
This layered ice cream cake delivers a delicious mix of flavors and textures that are sure to impress. It combines the rich creaminess of ice cream with the crunch of cookie layers, making it a perfect dessert for both kids and adults. The simplicity of the recipe means you can whip it up without needing advanced baking skills, yet the presentation is show-stopping enough for any gathering.
Another reason to love this recipe is its adaptability. If you have special dietary needs or personal preferences, you can easily adjust ingredients and flavors. From gluten-free options to non-dairy ice creams, everyone can enjoy a slice of this refreshing dessert. Plus, it’s a fantastic way to bring people together, as everyone loves a good ice cream cake!
How to serve Layered Ice Cream Cake
When it comes to serving, presentation plays a big role. You can cut the cake into squares and serve each slice with a drizzle of chocolate or caramel sauce for an extra special touch. Garnish with fresh berries or mint leaves to add color and contrast.
For side dishes, consider serving it alongside fresh fruit salads or a light dessert like sorbet. As for drinks, milkshakes or smoothies would pair beautifully with this dessert, creating a fun and indulgent treat.
How to store Layered Ice Cream Cake
To keep your layered ice cream cake fresh, it’s best stored in the freezer. Make sure it’s covered tightly to prevent freezer burn. It should stay in good condition for up to two weeks. If you have leftovers, just slice off what you need and return the rest to the freezer immediately.
You can also store your cake in the fridge for about 30 minutes before serving to let it soften slightly, making it easier to cut without causing a mess. Remember, however, that it should return to the freezer afterward to maintain its structure.
Tips to make Layered Ice Cream Cake
- Ingredient Quality: Use high-quality ice cream for the best flavor. Premium brands often have fewer air bubbles, leading to a denser and creamier texture.
- Allow Time: Plan ahead! This cake requires several hours to freeze properly, so allow ample time to ensure everything sets beautifully.
- Be Creative: Mix in your favorite cookies or add layers of different flavored ice creams to suit your taste.
Variation
There are various ways to customize your layered ice cream cake. For a vegan version, use coconut-based ice creams and vegan cookies. You can also create a low-carb dessert by using sugar-free ice cream and almond flour for the crust. If it’s a special occasion like Halloween or Christmas, try using themed decorations or flavors to match the celebration!
Storage and Reheating
To reheat leftovers, simply let the cake sit at room temperature for about 10-15 minutes for the best texture. If you only want to serve small portions, cut a piece and allow it to gently thaw. Avoid using a microwave, as it can alter the texture and melt the ice cream unevenly.
Customization Ideas
Feel free to experiment with flavors! You could add a layer of peanut butter or use different flavored ice creams like mint chocolate chip or strawberry. Also, consider adding textures with chopped nuts or cookie crumbles as layered fillings. These adjustments make the dessert personal and more exciting to eat.
Common Mistakes to Avoid
- Not Freezing Layers Properly: Ensure each layer is frozen completely before adding the next one.
- Using Hard Ice Cream: Let ice cream soften a bit to make it easier to spread.
- Skipping Toppings: Don’t overlook the finishing touches like whipped cream or sprinkles, which enhance appearance and flavor.
- Poorly Mixing Ingredients: Make sure all ingredients like whipped cream and sugar are properly blended for the best consistency.
- Not Covering the Cake: Always wrap your cake tightly before storing in the freezer to avoid freezer burn and maintain freshness.
Serving Occasions
Layered Ice Cream Cake is perfect for a range of occasions! It shines at summer barbecues, birthday parties, and holiday gatherings. It’s also a fun choice for casual family dinners when you want to surprise your loved ones with something special.
Why make this recipe
This recipe stands out because of its delightful balance of flavors and textures while being simple enough for anyone to make. Unlike other complicated cake recipes, it combines convenience with indulgence, letting you present a great dessert without spending hours in the kitchen.
Additionally, it appeals to both children and adults, making it a versatile choice for gatherings where guests have various tastes. Everyone can enjoy a slice, creating a memorable experience!
FAQs
-
Can I use different kinds of cookies?
Absolutely! You can mix in any of your favorite cookies for the crust or layers. Just crush them up to the desired consistency. -
Is it necessary to use parchment paper?
While it’s not strictly necessary, using parchment paper helps prevent sticking and makes it easier to lift the cake out of the pan for serving. -
Can I use dairy-free ice cream?
Yes! There are fantastic dairy-free ice cream alternatives available that work perfectly for this recipe. -
How long can I keep the cake in the freezer?
The cake can last in the freezer for up to two weeks. Make sure it’s tightly wrapped. -
What’s the best way to cut the cake?
Use a warm knife to cut through the layers easily. Just dip it in hot water, wipe it clean, and slice for neat portions.
Disclaimer:
Nutrition information provided is approximate and can vary based on specific ingredients used and portion sizes. Adjustments to the recipe may lead to variations in the nutritional content. Always check labels and consult with a dietary specialist if needed.