
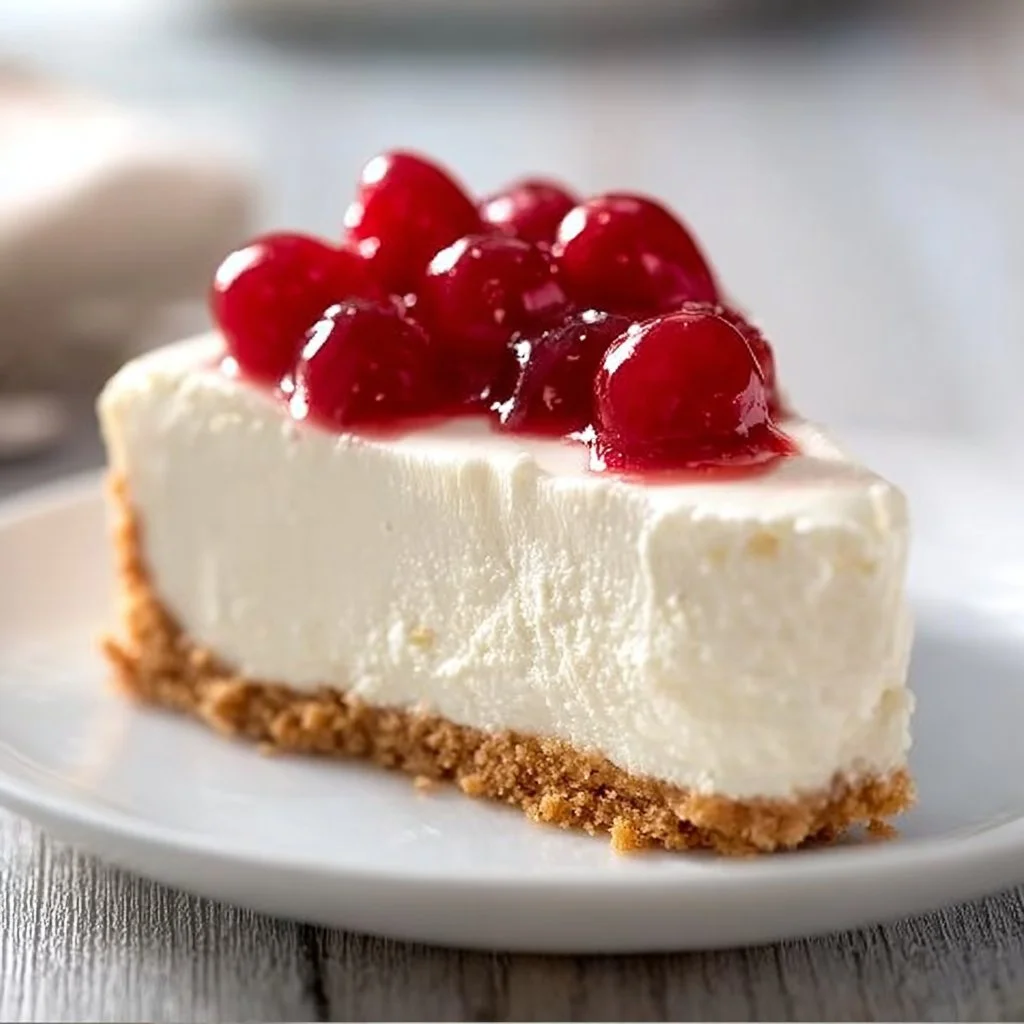
A Creamy Delight Awaits
No-bake cheesecake is a timeless dessert that captures the essence of indulgence without the fuss of baking. Its luscious texture, with a creamy filling resting on a buttery graham cracker crust, makes it a favorite for both casual gatherings and special occasions. The sweet and slightly tangy flavor of cream cheese paired with the richness of whipped cream creates a delightful balance that keeps you coming back for more.
What sets this no-bake cheesecake apart is its simplicity. You can whip it up in no time, making it the perfect dessert for those spontaneous get-togethers or last-minute celebrations. Whether you’re serving it at a summer barbecue, a cozy family dinner, or a festive holiday party, this cheesecake is sure to be a crowd-pleaser.
Prep Time, Cook Time, Total Time:
Prep Time: 15 min | Cook Time: 0 min | Total Time: 4 hrs 15 min
How to Make No-Bake Cheesecake
Ingredients:
- 1 ½ cups Graham cracker crumbs
- ½ cup Butter (melted)
- 16 oz Cream cheese (softened)
- ¾ cup Sugar
- 1 tsp Vanilla extract
- 1 ½ cups Heavy cream (whipped)
Step-by-Step Instructions:
-
Make the Crust: In a mixing bowl, combine the graham cracker crumbs and melted butter. Stir until the mixture resembles wet sand. Press this firmly into the bottom of a 9-inch springform pan to create an even crust.
-
Prepare the Filling: In another large bowl, beat together the softened cream cheese, sugar, and vanilla extract using an electric mixer. Continue mixing until the mixture is smooth and creamy, with no lumps remaining.
-
Whip the Cream: In a separate bowl, whip the heavy cream until it forms stiff peaks. This means that when you lift the beaters, the cream holds its shape. Carefully fold the whipped cream into the cream cheese mixture using a spatula, ensuring you maintain the light and airy texture.
-
Combine and Chill: Pour the cheesecake filling over the prepared crust, spreading it evenly. Cover the pan with plastic wrap or aluminum foil and refrigerate for at least 4 hours, or until set. This chilling time helps the flavors meld beautifully and gives the cheesecake a firm texture.
-
Garnish and Serve: Once set, remove the cheesecake from the fridge. You can garnish it with fresh fruits, a berry sauce, or a drizzle of chocolate before slicing. Serve chilled and enjoy the creamy goodness.
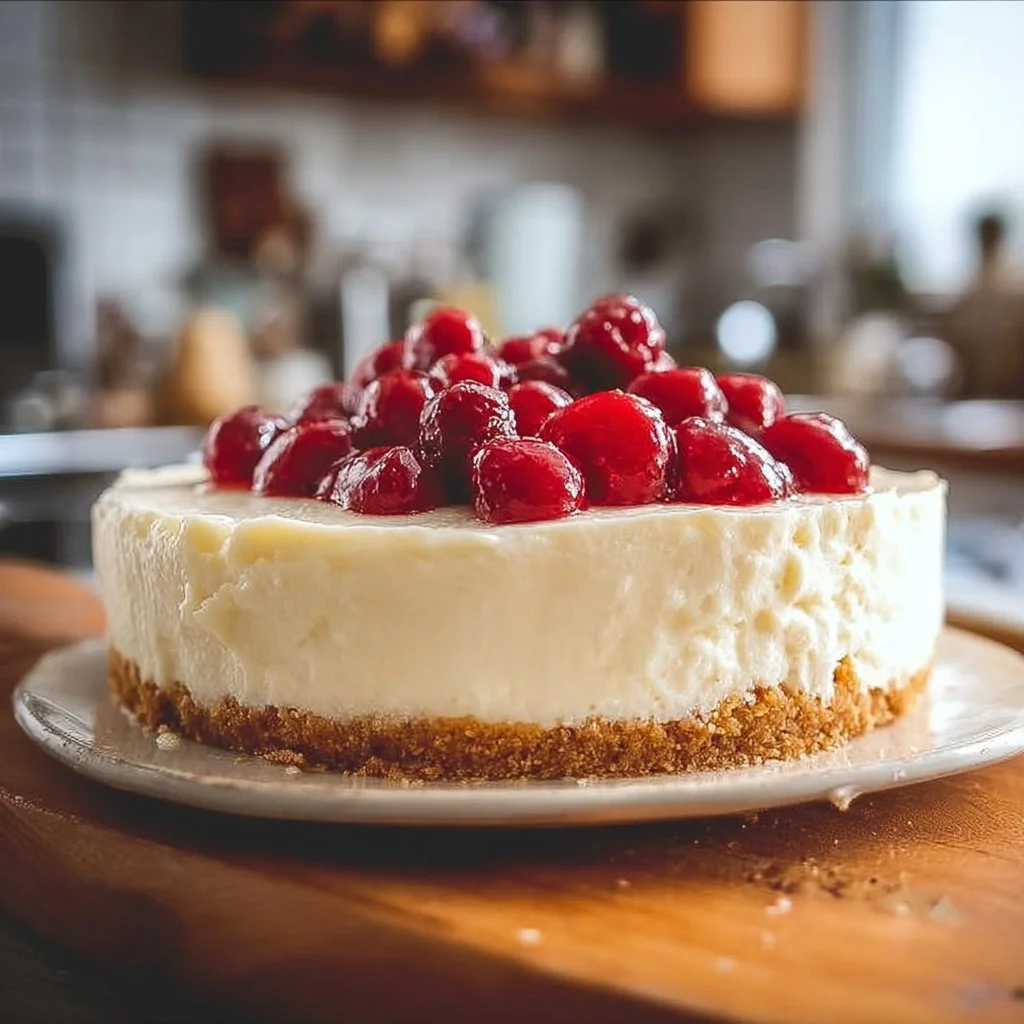
Pro Tips
-
Room Temperature Ingredients: Make sure your cream cheese is at room temperature before mixing. This ensures a smooth filling without lumps. To speed up this process, you can cut it into smaller pieces and let it sit out for about 30 minutes.
-
Whip the Cream Correctly: When whipping cream, keep your bowl and beaters cold. This helps the cream whip up faster and hold its form better.
-
Don’t Rush the Chill: Allowing the cheesecake to set for the full minimum time is essential. If you cut into it too soon, it may be runny or not hold its shape well.
-
Experiment with Graham Cracker Alternatives: If you’re looking for a gluten-free version, you can use gluten-free cookies or nuts like crushed almonds for the crust.
-
Taste Before Serving: Before serving, taste your cheesecake. You can adjust the sweetness if necessary by adding a bit more sugar if you like it sweeter.
Why You’ll Love This Recipe
This no-bake cheesecake is not only delicious but also incredibly simple to make. The creamy, smooth filling is perfectly balanced with the crunchy crust, creating a delightful contrast in each bite. Plus, it’s a versatile dessert that fits various diets and preferences. You can easily make it gluten-free or even dairy-free, making it accessible for many guests.
Whether you’re celebrating a special occasion or just treating yourself on a quiet evening, this cheesecake will satisfy your sweet tooth. The ease of preparation means you can focus on enjoying the moment instead of stressing in the kitchen.
How to Serve No-Bake Cheesecake
Presentation is key when serving cheesecake. For a lovely touch, slice the cheesecake into wedges and plate each slice on its own dessert dish. You could dress it up with fresh berries or a sprinkle of mint leaves for a pop of color.
Pair it with a chilled glass of dessert wine, coffee, or a fruity mocktail to enhance the experience. If you want to add extra flavor, consider serving it alongside a scoop of vanilla ice cream or a dollop of whipped cream.
How to Store No-Bake Cheesecake
This cheesecake can be stored perfectly in the fridge for up to five days. Wrap it tightly with plastic wrap or place it in an airtight container to keep it fresh.
If you want to keep it for longer, you can freeze individual slices. Just make sure to wrap them well to prevent freezer burn. Defrost in the fridge overnight for the best texture.
Tips to Make No-Bake Cheesecake
- Start with cold heavy cream for better whipping. A little practice in whipping will ensure you get the desired stiff peaks every time.
- If your cheesecake isn’t as firm as you’d expect, a little extra chilling might do the trick. Don’t be afraid to let it sit longer if needed.
- To elevate the flavors, try adding a teaspoon of lemon juice or zest to the filling for a bright note.
Variations
- Vegan: Replace cream cheese with vegan cream cheese and use coconut cream in place of heavy cream. The crust can be made with crushed vegan cookies.
- Chocolate Cheesecake: Mix in melted chocolate into the cream cheese filling for a decadent chocolate version.
- Fruit-Topped: Incorporate pureed fruit or mix fresh berries into the batter for a fruity twist.
Nutrition Information
(Serving Size: 1 slice | Calories: 350 | Protein: 4g | Carbs: 29g | Fat: 25g | Fiber: 1g | Sugar: 18g)
This cheesecake has a decent amount of calories primarily due to the cream cheese and heavy cream, giving it a rich taste. The sugar content can be high, so it’s best enjoyed in moderation as an occasional treat.
Storage and Reheating
To reheat leftover cheesecake, you typically don’t need to. It’s best enjoyed cold. However, if it’s frozen, let it thaw in the fridge overnight for the best texture. Avoid microwaving, as it can alter the creamy texture.
Customization Ideas
You can customize your cheesecake by choosing different flavored extracts, like almond or maple, instead of vanilla. Toppings can range from chocolate shavings to caramel drizzle, or even a layer of nut butter for some added richness and flavor.
Common Mistakes to Avoid
- Overmixing the Cream: If over-whipped, the cream can become grainy. Whip just until stiff peaks form.
- Inadequate Chilling Time: Skipping the chilling step can result in a runny cheesecake. Always give it enough time to set.
- Using Cold Cream Cheese: Cold cream cheese can lead to lumps. Bring it to room temperature for a smoother filling.
- Too Much Crust: While a thick crust is delicious, ensure it doesn’t overpower the cheesecake filling. A 1/2-inch layer is usually just right.
- Rushing the Serving: Allow the cheesecake to set fully before serving. It will hold its shape better and taste amazing.
Serving Occasions
No-bake cheesecake is perfect for almost any occasion! It’s a fantastic choice for birthdays, family gatherings, potlucks, and holiday dinners. You can even enjoy a slice with coffee for a wonderful afternoon treat.
Why Make This Recipe
This no-bake cheesecake stands out due to its creamy texture and the ease with which it can be prepared. Unlike baked cheesecakes, which often require precise baking times and can crack, this version simplifies the process while still delivering a deliciously rich dessert. It’s a go-to recipe for anyone looking to impress their guests without spending hours in the kitchen.
FAQs
-
Can I use low-fat cream cheese?
Yes, low-fat cream cheese can work, but it may yield a slightly different texture and flavor. -
How long should I chill the cheesecake?
A minimum of 4 hours is recommended, but overnight is even better for achieving the perfect consistency. -
Can I add fruit into the batter?
Absolutely! Fresh fruit puree or finely chopped fruits can be folded into the batter for added flavor. -
Is there a gluten-free option for the crust?
Definitely! Use gluten-free crackers or even ground almonds or oats to create a delicious gluten-free base. -
Can leftovers be frozen?
Yes, leftover slices can be frozen for up to a month. Just wrap them in plastic wrap and store in an airtight container.
Disclaimer
Please note that nutrition information is approximate and can vary based on ingredient brands and amounts used. Always check your ingredients for the most accurate nutritional information.
Print
No-Bake Cheesecake
- Total Time: 255 minutes
- Yield: 8 servings 1x
- Diet: Vegetarian
Description
A creamy, no-bake cheesecake that combines a luscious filling with a buttery graham cracker crust, perfect for any occasion.
Ingredients
- 1 ½ cups Graham cracker crumbs
- ½ cup Butter (melted)
- 16 oz Cream cheese (softened)
- ¾ cup Sugar
- 1 tsp Vanilla extract
- 1 ½ cups Heavy cream (whipped)
Instructions
- Make the crust: In a mixing bowl, combine the graham cracker crumbs and melted butter. Stir until the mixture resembles wet sand. Press this firmly into the bottom of a 9-inch springform pan to create an even crust.
- Prepare the filling: In another large bowl, beat together the softened cream cheese, sugar, and vanilla extract using an electric mixer. Continue mixing until the mixture is smooth and creamy, with no lumps remaining.
- Whip the cream: In a separate bowl, whip the heavy cream until it forms stiff peaks. Carefully fold the whipped cream into the cream cheese mixture using a spatula, ensuring you maintain the light and airy texture.
- Combine and chill: Pour the cheesecake filling over the prepared crust, spreading it evenly. Cover the pan with plastic wrap or aluminum foil and refrigerate for at least 4 hours, or until set.
- Garnish and serve: Once set, remove the cheesecake from the fridge and garnish with fresh fruits, a berry sauce, or a drizzle of chocolate before slicing. Serve chilled and enjoy.
Notes
Ensure cream cheese is at room temperature for a smooth filling. Don’t rush the chilling time for best results.
- Prep Time: 15 minutes
- Cook Time: 0 minutes
- Category: Dessert
- Method: No-Bake
- Cuisine: American
Nutrition
- Serving Size: 1 slice
- Calories: 350
- Sugar: 18g
- Sodium: 400mg
- Fat: 25g
- Saturated Fat: 15g
- Unsaturated Fat: 6g
- Trans Fat: 0g
- Carbohydrates: 29g
- Fiber: 1g
- Protein: 4g
- Cholesterol: 80mg