
Cookies & Cream Oreo Cheesecake
Introduction:
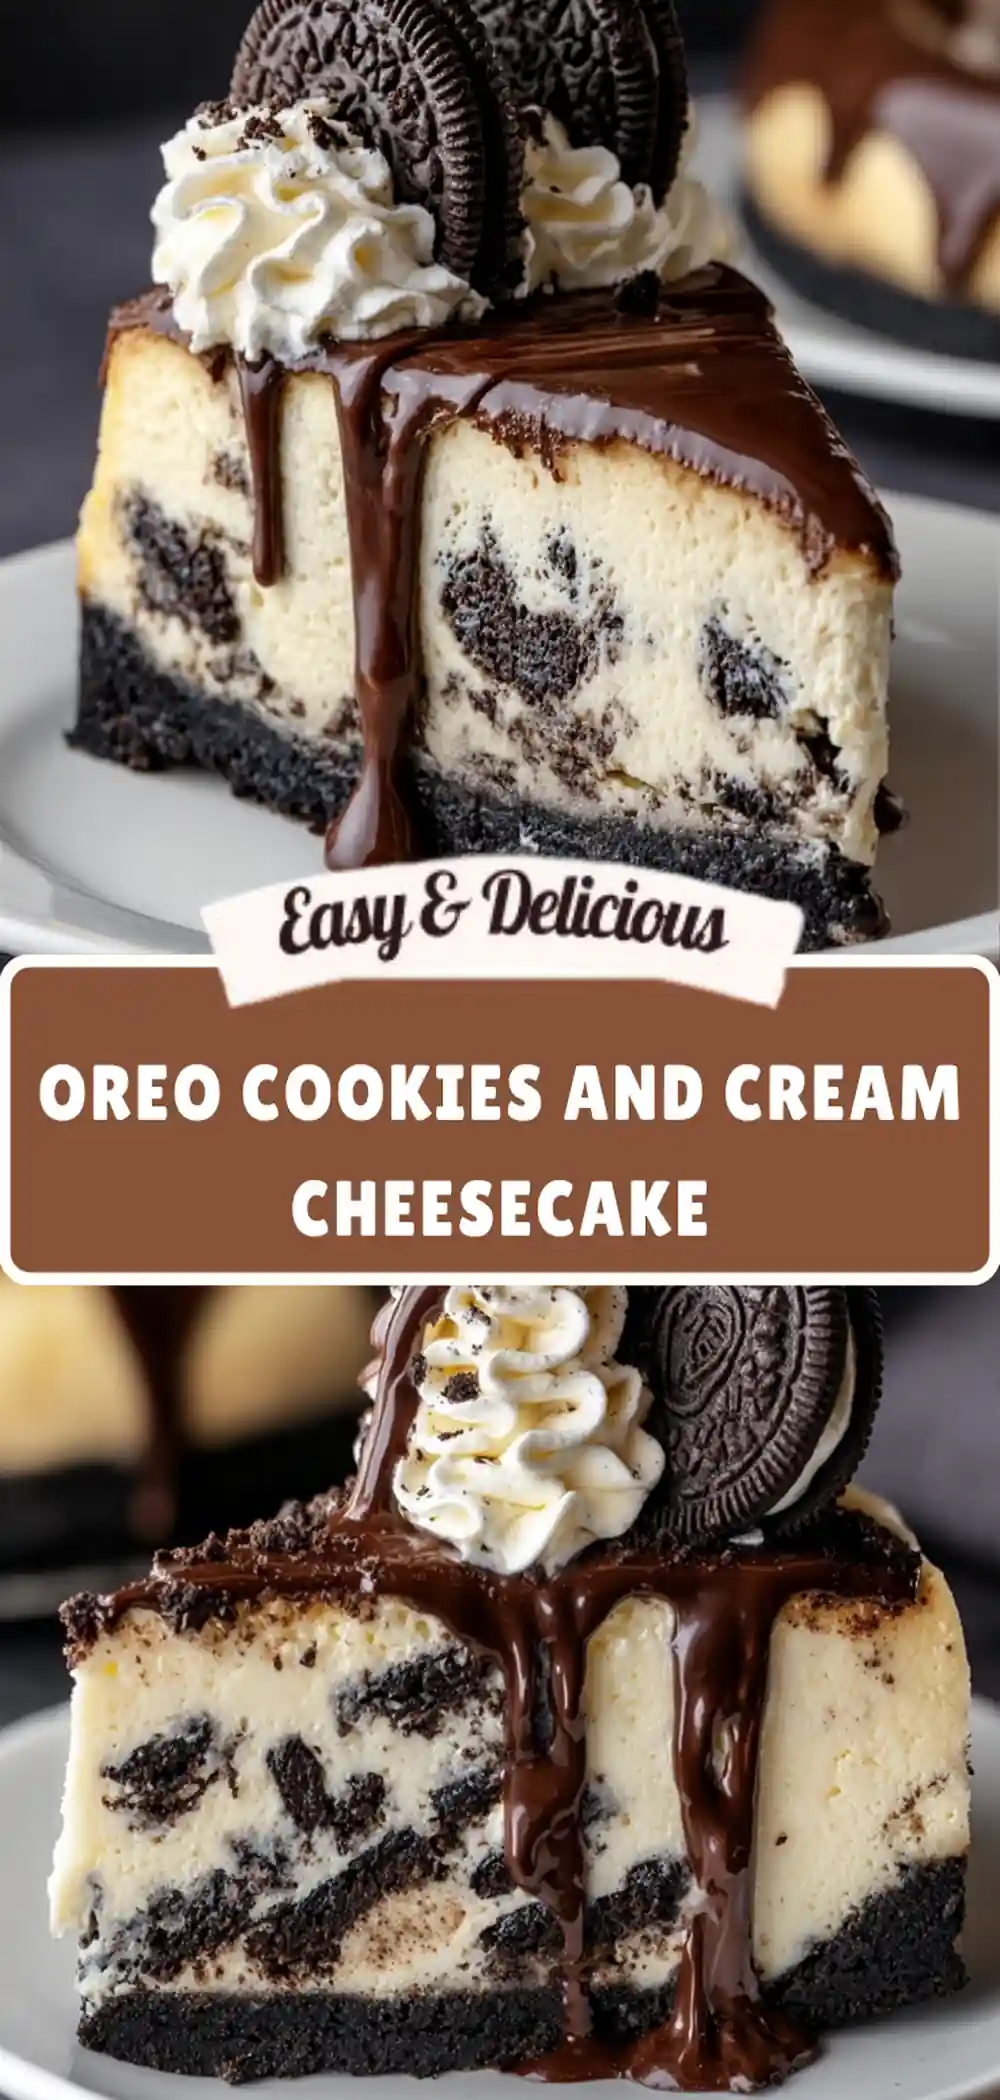
If you’re an Oreo lover, this Cookies and Cream Cheesecake is your ultimate dream dessert! It’s creamy, rich, and loaded with crushed Oreos from top to bottom — a true crowd-pleaser for any special occasion or sweet craving.
🕒 Prep Time: 20 minutes
🔥 Cook Time: 55 minutes
🧊 Chill Time: 4 hours
⏱️ Total Time: 5 hours 15 minutes
Ingredients
For the Oreo Crust:
- 24 Oreo cookies (crushed finely)
- 5 tbsp unsalted butter, melted
For the Cheesecake Filling:
- 3 (8 oz) packages cream cheese, softened
- 1 cup granulated sugar
- 1 cup sour cream
- 3 large eggs
- 2 tsp vanilla extract
- 15 Oreo cookies, chopped
For the Topping:
- 1 cup heavy whipping cream
- 2 tbsp powdered sugar
- 1/2 tsp vanilla extract
- Crushed Oreos for garnish
- Whole Oreos for decoration (optional)
Step-by-Step Instructions
Step 1: Prepare the Crust
- Preheat your oven to 325°F (160°C).
- Crush Oreos into fine crumbs using a food processor or by placing them in a sealed bag and crushing with a rolling pin.
- Mix the crushed Oreos with melted butter until evenly combined.
- Press the mixture firmly into the bottom of a 9-inch springform pan, making sure it’s even and compact.
- Bake for 10 minutes, then remove and let it cool while preparing the filling.
Pro Tip: Line the pan bottom with parchment paper for easy removal later.
Step 2: Make the Cheesecake Filling
- In a large mixing bowl, beat the cream cheese until smooth and creamy.
- Add the sugar and mix until fully incorporated.
- Blend in sour cream and vanilla extract, scraping down the sides of the bowl.
- Add the eggs, one at a time, mixing on low speed until just combined (don’t overmix — this prevents cracks!).
- Gently fold in chopped Oreo pieces with a spatula.
Step 3: Assemble & Bake
- Pour the cheesecake batter over the prepared crust and spread it evenly.
- Tap the pan lightly on the counter to remove any air bubbles.
- Place the springform pan on a baking sheet and bake for 50–55 minutes, or until the center is almost set but still slightly jiggly.
- Turn off the oven, crack the door open, and let the cheesecake cool inside for 1 hour — this gradual cooling helps prevent cracking.
Baking Tip: You can use a water bath (bain-marie) for extra smooth texture: wrap the pan in foil and place it in a larger pan filled with hot water about halfway up the sides.
Step 4: Chill Completely
- After the cheesecake cools, cover it with plastic wrap and refrigerate for at least 4 hours (overnight is best).
- This chilling step lets the flavors deepen and the texture firm up to perfection.
Step 5: Make the Whipped Topping
- In a chilled bowl, beat heavy cream, powdered sugar, and vanilla extract until stiff peaks form.
- Pipe or spread the whipped cream over the chilled cheesecake.
- Garnish with crushed Oreos and decorate with whole Oreos for an extra cookies-and-cream flair!
Pro Tips for the Best Oreo Cheesecake
- Room Temperature Ingredients: Make sure the cream cheese, sour cream, and eggs are all at room temperature for a smooth, lump-free batter.
- Avoid Overbaking: The center should still jiggle slightly when done — it will firm up as it cools.
- Slice Cleanly: Use a sharp knife dipped in hot water and wiped dry before each cut for perfect slices.
Storage & Serving
- Refrigerator: Store in an airtight container for up to 5 days.
- Freezer: Wrap slices tightly and freeze for up to 2 months. Thaw in the fridge overnight before serving.
- Serve chilled with extra whipped cream or chocolate drizzle for an indulgent touch.
Optional Variations
- Mint Oreo Cheesecake: Add 1/2 tsp peppermint extract and use Mint Oreos for a festive twist.
- Peanut Butter Oreo Cheesecake: Swirl in 1/4 cup creamy peanut butter before baking.
- Mini Oreo Cheesecakes: Bake the same recipe in muffin tins with paper liners for easy single servings.
Nutrition Facts
| Serving Size | Calories | Protein | Carbs | Fat | Fiber | Sugar |
|---|---|---|---|---|---|---|
| 1 slice | 460 | 7g | 38g | 31g | 1g | 28g |
Disclaimer:
Nutrition values are estimates based on general data. Your exact values may vary depending on specific ingredients and brands used.