
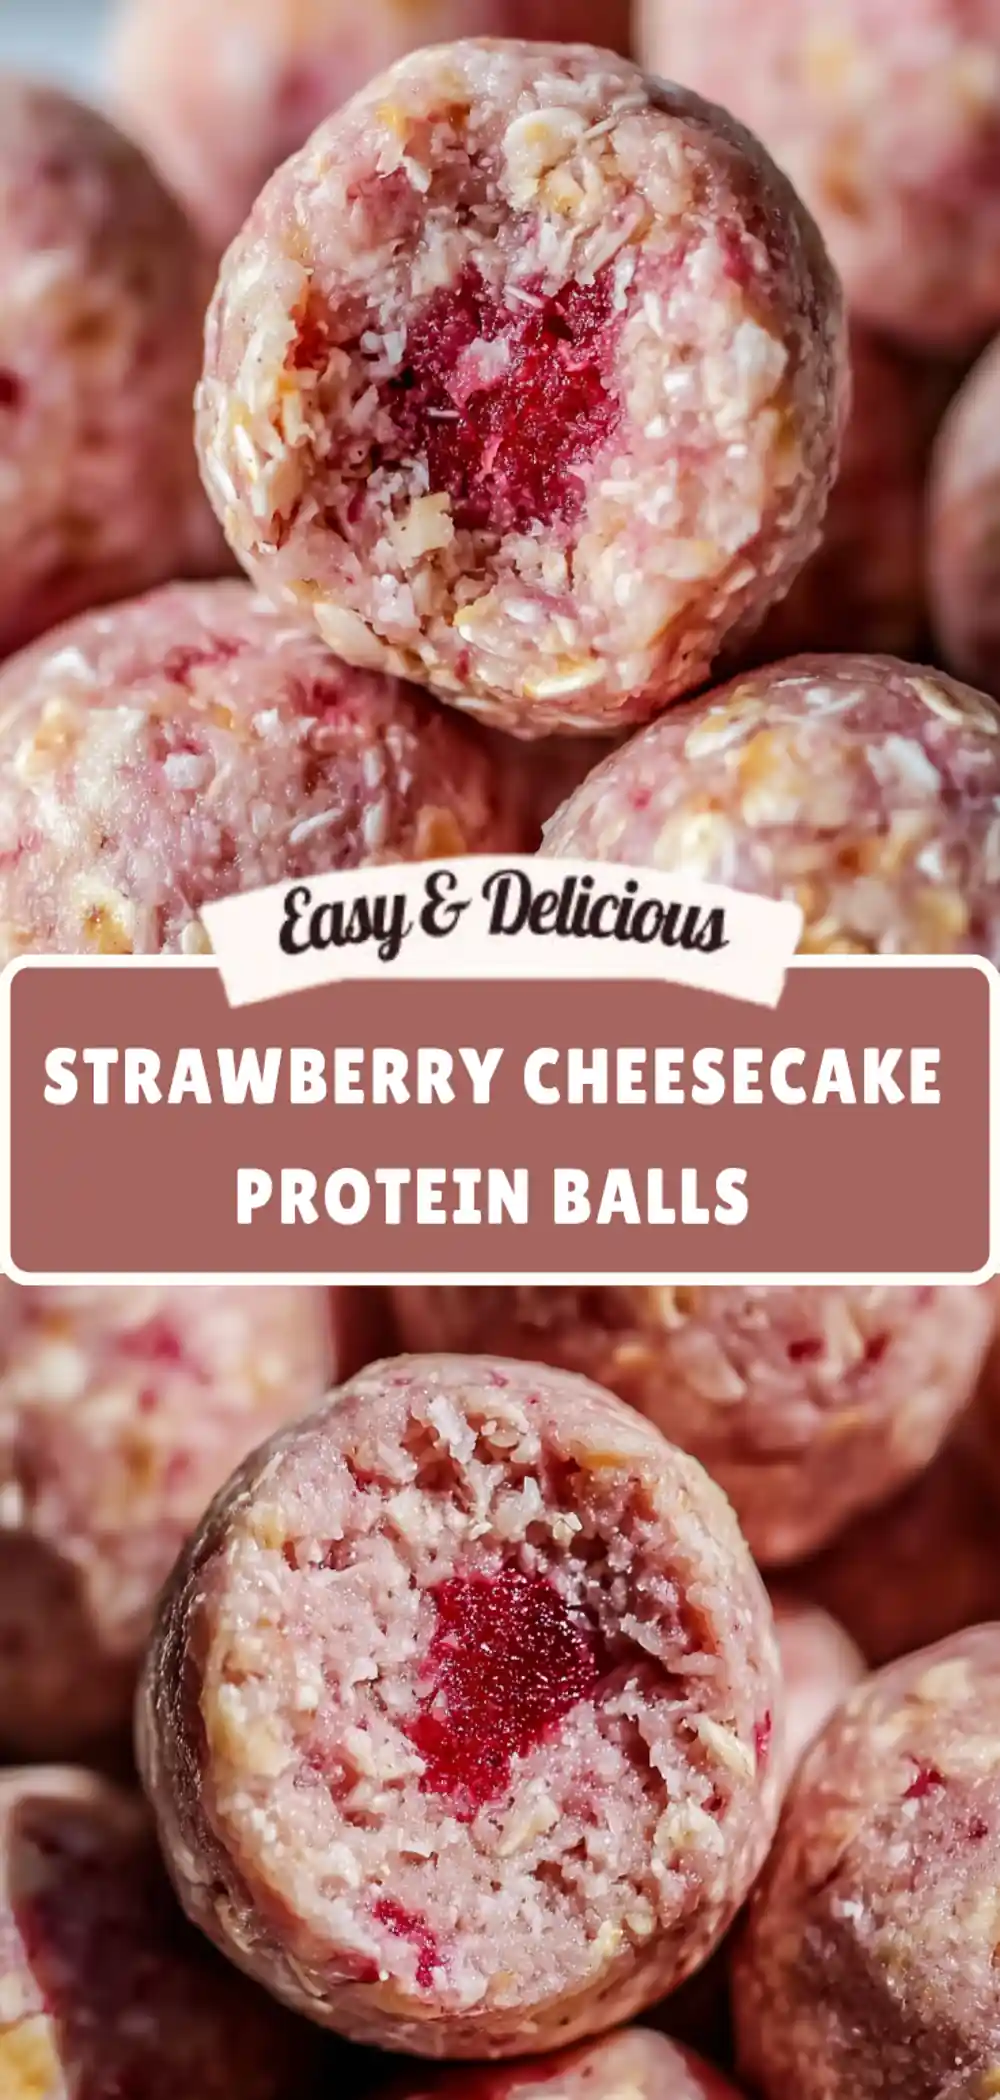
Strawberry Cheesecake Protein Balls
Introduction:
These Strawberry Cheesecake Protein Balls bring together the creamy sweetness of cheesecake and the bright, fruity flavor of strawberries—all in one bite-sized, high-protein snack. They’re perfect for satisfying sweet cravings while keeping your nutrition goals on track.
🕒 Prep Time: 10 minutes
🕒 Chill Time: 30 minutes
🕒 Total Time: 40 minutes
Ingredients 📝
- 1 cup rolled oats
- 1/2 cup vanilla protein powder
- 1/4 cup almond flour
- 2 tablespoons cream cheese, softened
- 2 tablespoons honey or maple syrup
- 1/2 teaspoon vanilla extract
- 1/3 cup freeze-dried strawberries, crushed
- 2 tablespoons milk (almond or dairy) – add more if needed
- Pinch of salt
Step-by-Step Instructions
Step 1: Prepare your base mixture
In a medium mixing bowl, combine the rolled oats, vanilla protein powder, and almond flour. Stir them together until evenly blended. This dry mixture forms the structure for your protein balls and helps them stay firm without baking.
Step 2: Add the creamy elements
Add in the softened cream cheese, honey (or maple syrup), and vanilla extract. Use a spatula or the back of a spoon to blend everything together until you have a thick, dough-like consistency. The cream cheese adds that signature cheesecake flavor while helping to bind the ingredients naturally.
Step 3: Add strawberries for sweetness
Crush your freeze-dried strawberries into a coarse powder using a food processor or a zip-top bag and rolling pin. Add most of it to the dough, saving a small amount to roll the balls in later for extra strawberry color and flavor. The crushed berries give these protein balls their delicious pink hue and fruity punch.
Step 4: Adjust the texture
Add the milk gradually, one tablespoon at a time, until the dough holds together easily but isn’t too sticky. You want a soft, moldable texture that rolls into balls smoothly without crumbling apart. If it’s too wet, add a little more almond flour; if it’s too dry, splash in another teaspoon of milk.
Step 5: Roll into balls
Scoop about one tablespoon of mixture and roll it between your palms to form bite-sized balls. This recipe makes about 12–14 balls depending on size.
Step 6: Add the finishing touch
Roll each ball lightly in the remaining crushed freeze-dried strawberries for a vibrant pink coating. This not only enhances the visual appeal but adds a natural strawberry burst in every bite.
Step 7: Chill before serving
Place all the balls on a lined tray or plate and refrigerate for at least 30 minutes to firm up. Once chilled, they’ll hold their shape perfectly and have that creamy, cheesecake-like texture that makes them irresistible.
Pro Tips
- Use high-quality protein powder: A vanilla or strawberry-flavored protein powder works best for a balanced sweetness. Avoid overly chalky powders to keep the texture creamy.
- Try fresh strawberries: For a juicier twist, finely dice fresh strawberries and mix them in, but note they’ll shorten the shelf life—best consumed within two days.
- Make it vegan: Swap cream cheese for vegan cream cheese and honey for maple syrup or agave nectar. Use plant-based protein powder for a fully vegan-friendly snack.
Serving Suggestions and Pairings
- Pre-workout boost: Enjoy one or two protein balls 30 minutes before your workout for a quick energy lift.
- Post-dinner dessert: Pair with a cup of herbal tea for a guilt-free way to satisfy a sweet craving.
- Smoothie sidekick: Serve alongside a strawberry banana smoothie for a double dose of fruity flavor.
- On-the-go snack: Pack a few in a small container for travel or busy mornings—no refrigeration needed after the initial chill if eaten within a few hours.
Storage
Store your Strawberry Cheesecake Protein Balls in an airtight container in the refrigerator for up to 5 days. For longer storage, freeze them for up to 1 month. Simply thaw for 10–15 minutes before eating.
Flavor Variations
- Chocolate Strawberry: Add a tablespoon of cocoa powder for a chocolate twist that pairs beautifully with the strawberries.
- Lemon Cheesecake: Add one teaspoon of lemon zest for a fresh citrus lift.
- Peanut Butter Strawberry: Mix in one tablespoon of peanut butter for a nutty, creamy combo.
- Coconut Strawberry: Roll the finished balls in shredded coconut instead of strawberry powder for a tropical touch.
Why You’ll Love This Recipe
These Strawberry Cheesecake Protein Balls are the ultimate fusion of dessert and nutrition. They taste indulgent yet are balanced with fiber, protein, and healthy fats. Perfect for meal prep, they’re easy to make ahead and store, making healthy snacking effortless. Unlike baked goods, there’s no oven time, no mess, and minimal cleanup—just wholesome, delicious bites in minutes.
Their texture is creamy yet chewy, and the natural sweetness from strawberries and honey gives them a refreshing, real-fruit taste. Whether you’re aiming to boost your protein intake or just want a healthy treat that feels like dessert, these little bites hit the spot every time.
Nutrition Information
| Serving Size | Calories | Protein | Carbs | Fat | Fiber | Sugar |
|---|---|---|---|---|---|---|
| 1 ball | 110 | 6g | 12g | 4g | 2g | 5g |
Disclaimer:
Nutrition facts are estimated using online tools and may vary depending on your specific ingredients and preparation methods. Please consult a nutrition professional for more precise dietary advice.
FAQs
Q1: Can I make these without protein powder?
Yes, you can replace the protein powder with extra almond flour or oat flour. They’ll still be delicious, just slightly lower in protein content.
Q2: Can I use Greek yogurt instead of cream cheese?
Absolutely! Greek yogurt gives a lighter, tangier flavor. Use 2 tablespoons, but reduce the milk slightly since yogurt adds more moisture.
Q3: How can I make them sweeter without sugar?
Try using a few drops of liquid stevia or monk fruit sweetener. Adjust to taste, as protein powders vary in sweetness.
Q4: Are these suitable for kids?
Definitely! They’re naturally sweetened, nutrient-rich, and free from artificial ingredients—perfect for lunchboxes or after-school snacks.
Q5: Can I bake them for a firmer texture?
These are meant to be no-bake, but you can try baking at 325°F for 8–10 minutes for a firmer, cookie-like version. Let them cool before storing.