
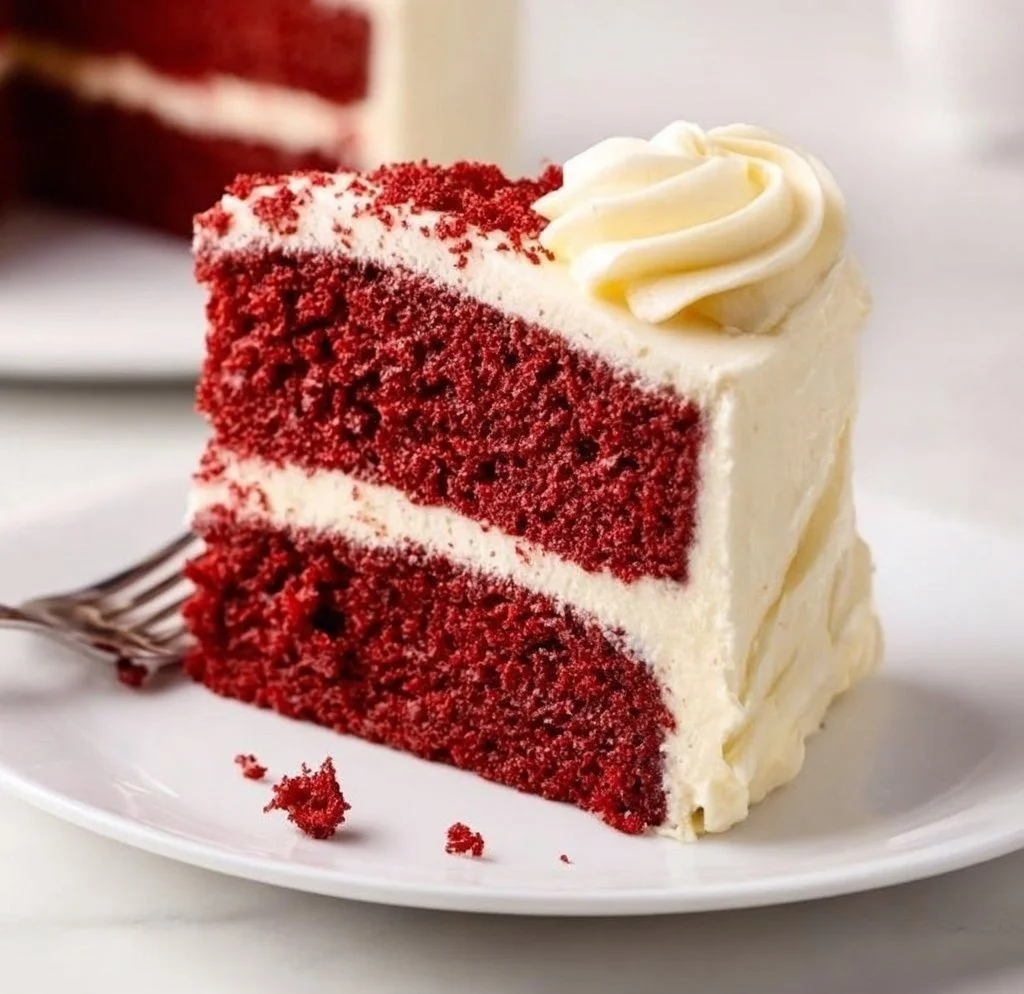
The Classic Red Velvet Cake
Red velvet cake is often the star of dessert tables, and it’s easy to see why. With its deep red hue, velvety texture, and slightly tangy flavor, this cake stands out among the rest. It’s not only visually appealing but also incredibly delicious, making it a favorite for birthdays, anniversaries, and even festive holidays.
What sets red velvet cake apart is its unique combination of flavors and colors. The hint of cocoa powder gives it a subtle chocolatey taste, while the buttermilk adds moisture and a slight tang that balances the sweetness perfectly. Topped with creamy, luscious frosting, each bite is a delightful experience that’s hard to resist.
This cake is especially great for celebrations. Whether it’s a wedding, a birthday bash, or just a cozy gathering with friends, serving red velvet cake creates a memorable dessert that everyone will remember.
Nutrition & Recipe Details
| Item | Value |
|---|---|
| Prep time | 20 minutes |
| Cook time | 30 minutes |
| Store time | 5 days |
| Calories | 350 per slice |
| Protein | 5g |
| Carbohydrates | 50g |
| Fat | 15g |
How to make Classic Red Velvet Cake
Ingredients:
| Ingredient | Quantity |
|---|---|
| All-purpose flour | 2 1/2 cups |
| Granulated sugar | 1 1/2 cups |
| Baking powder | 1 teaspoon |
| Baking soda | 1 teaspoon |
| Salt | 1 teaspoon |
| Cocoa powder | 1 tablespoon |
| Vegetable oil | 1 1/2 cups |
| Buttermilk (room temperature) | 1 cup |
| Large eggs (room temperature) | 2 |
| Red food coloring | 2 tablespoons |
| Vanilla extract | 1 teaspoon |
| White vinegar | 1 teaspoon |
| Cream cheese frosting | to taste |
Step-by-Step Instructions:
- Preheat the oven to 350°F (175°C). Grease and flour two 9-inch round cake pans.
- In a large bowl, mix the flour, sugar, baking powder, baking soda, salt, and cocoa powder.
- In another bowl, combine the oil, buttermilk, eggs, food coloring, vanilla, and vinegar.
- Mix the wet ingredients into the dry ingredients until just combined.
- Divide the batter evenly between the prepared pans.
- Bake for 25-30 minutes or until a toothpick inserted into the center comes out clean.
- Let the cakes cool in the pans for 10 minutes before transferring to wire racks to cool completely.
- Frost with cream cheese frosting before serving.
Pro Tips:
| Tip | Description |
|---|---|
| Room Temperature Ingredients | Using room temperature eggs and buttermilk makes for a smoother batter, resulting in a lighter cake texture. |
| Don’t Overmix | Mixing the batter just until combined prevents overdevelopment of gluten, keeping the cake tender. |
| Color Adjustment | If you want a deeper red color, don’t hesitate to add an extra drop of food coloring. |
Why You’ll Love This Recipe
Red velvet cake’s flavor profile is one of its greatest attributes. It boasts a mild chocolate flavor that complements its sweet and creamy frosting, creating a balanced dessert that isn’t overwhelmingly sweet. The tang from the buttermilk and vinegar makes every slice refreshing, which is why it pairs so well with a rich cream cheese frosting.
Not to mention, it’s a cake that appeals to various dietary preferences. It’s a classic treat that can be enjoyed by many. You could even make it gluten-free by swapping out the all-purpose flour for a gluten-free blend.
Plus, it’s simplicity is one of its strong suits. With a handful of basic ingredients, you can whip up something extraordinary without needing advanced baking skills. This makes it a great choice for beginner bakers and experienced ones alike.
How to serve Classic Red Velvet Cake
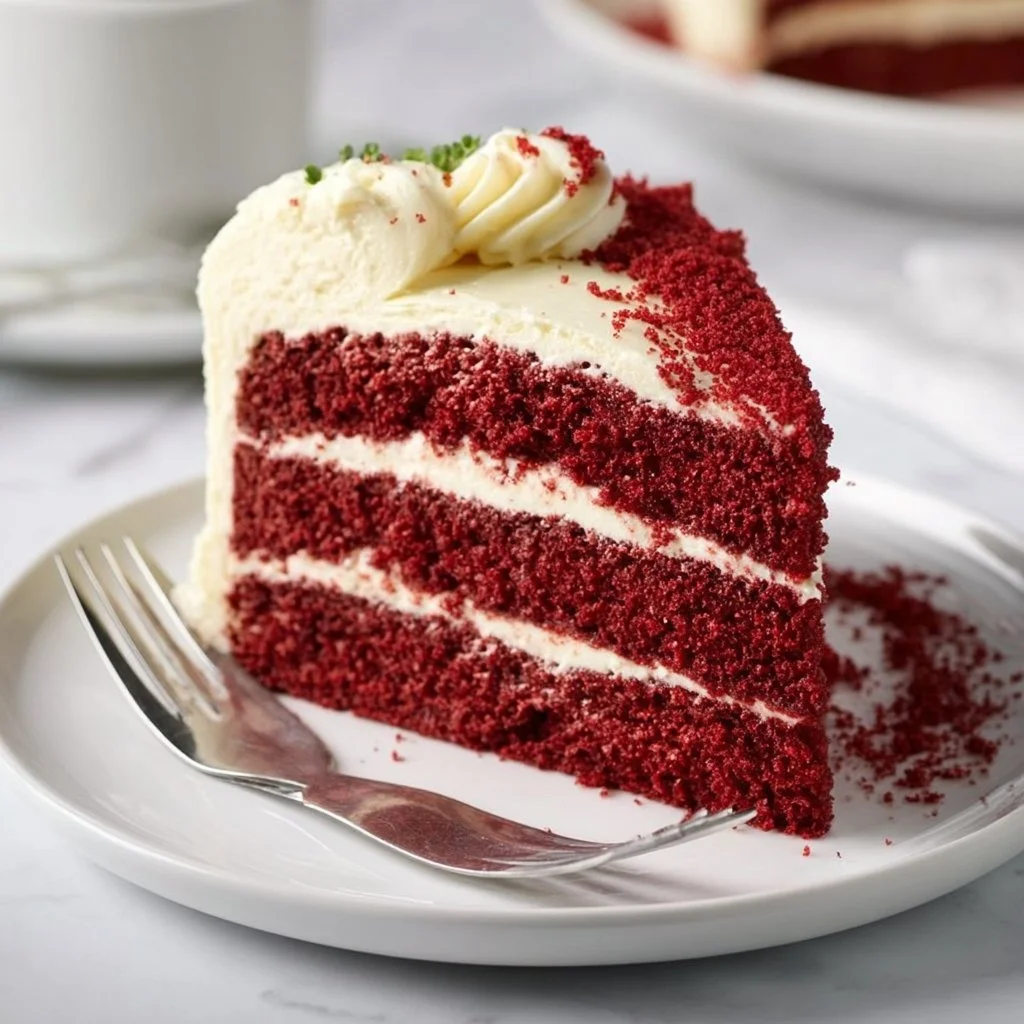
Presentation is key with red velvet cake. It’s gorgeous on its own with a generous layer of cream cheese frosting. You might want to add a sprinkle of crushed nuts or chocolate shavings on top for a bit of texture and flair.
For side dishes, serve it alongside a scoop of vanilla ice cream or fresh berries. A dollop of whipped cream enhances the overall experience as well. For drinks, a nice cup of tea or a glass of milk are lovely complements—you could even consider coffee for a delightful contrast.
How to store Classic Red Velvet Cake
To store your red velvet cake, let it cool completely if it’s freshly baked. It can be kept at room temperature for up to 3 days, covered with plastic wrap to keep it moist. For longer storage, simply refrigerate it, where it can last up to a week. Always remember to bring it back to room temperature before serving for the best flavor and texture.
You can also freeze the cake if you want to save it for later. Just wrap each layer tightly in plastic wrap and aluminum foil or store it in an airtight container. It can be frozen for up to 3 months. When it’s time to enjoy, thaw it in the refrigerator overnight, then let it sit at room temperature for a couple of hours before frosting.
Tips to make Classic Red Velvet Cake
Keep an eye on your baking time. Overbaking can lead to a dry cake, while underbaking can result in a gooey center. It’s always best to start checking your cake a few minutes before the suggested baking time.
Sift your dry ingredients together. This step helps avoid lumps and ensures they are evenly distributed throughout the batter, giving you a smooth and even cake.
When mixing wet ingredients, be sure to use a whisk. This ensures that the food coloring is evenly incorporated throughout, giving you that stunning red color from top to bottom.
Variation
Feel free to get creative! You could make a vegan version by using flax eggs instead of regular eggs and replacing buttermilk with a non-dairy milk and vinegar mix. For those looking for gluten-free options, substituting the flour with a certified gluten-free blend is easy and works well.
If you want to spice things up, consider adding a hint of spice, such as cinnamon or nutmeg, to the batter. It gives a warm twist to the classic flavor!
Storage and Reheating
If you have leftover cake, slice it into individual pieces to make it easier to store. For microwave reheating, place a slice on a microwave-safe plate and cover it with a damp paper towel. Heat for about 10-15 seconds until it’s warm.
If you prefer the oven, preheat to 350°F (175°C), place the slice on a baking sheet, and reheat for about 5-10 minutes. Oven reheating keeps the cake more moist compared to the microwave.
Customization Ideas
To adjust flavors, think about adding a zest of lemon or orange for a fruity punch. You could also infuse the frosting with unique flavors, like almond or coconut extract, for something different.
Want a crunch? Consider adding chopped nuts into the batter or as a topping. If you love texture, sandwiched layers of frosting with crushed cookies or chocolate sprinkles can elevate the dessert experience.
Common Mistakes to Avoid
- Using Cold Ingredients: Cold eggs and buttermilk can create a lumpy batter; always bring them to room temperature first.
- Not Measuring Flour Properly: Scooping directly from the bag can lead to too much flour. Use the spoon and level method.
- Skipping the Baking Powder/Soda: Ensure these leavening agents are fresh for best results or your cake might not rise.
- Overmixing the Batter: Mix until just combined to keep the cake light and fluffy. Overmixing develops gluten, creating a dense cake.
Serving Occasions
This red velvet cake is perfect for a variety of occasions—birthdays, holidays, and even simple gatherings. It’s the kind of dessert that instantly elevates any meal, making it feel special. Pair it with coffee for an afternoon treat or bring it to a potluck for a guaranteed crowd-pleaser.
Why make this recipe
What makes classic red velvet cake unique is its rich texture and striking appearance, coupled with the tartness of buttermilk. Unlike a regular chocolate cake, it offers a distinctive flavor profile that feels festive and elegant.
This cake is more than just sweet; it’s a true celebration of flavor and color, making it suitable for any occasion. Plus, its ease of preparation and chance for customization means that every baker can make this classic their own, ensuring that no two red velvet cakes are exactly the same.
FAQs
-
Can I make this cake ahead of time?
Yes! You can bake the layers a day in advance and store them in the fridge. Just frost when you’re ready to serve. -
What’s the best way to color the cake?
Using gel food coloring is recommended for a deeper color without affecting the consistency. Liquid food coloring works too, but you may need more. -
Can I use a different frosting?
Absolutely! While cream cheese frosting is classic, try buttercream or even whipped cream for a lighter option. -
What do I do if my cake is too dry?
If your cake comes out dry, try using a simple syrup to soak the layers. It adds moisture and flavor back into the cake. -
Can I make this cake in a different shape?
Yes, feel free to make it into cupcakes, a sheet cake, or even a layered tiered cake for a special event!
Disclaimer
Nutrition values are approximate and can vary based on specific ingredients and serving sizes. Always check product labels for the most accurate information.