
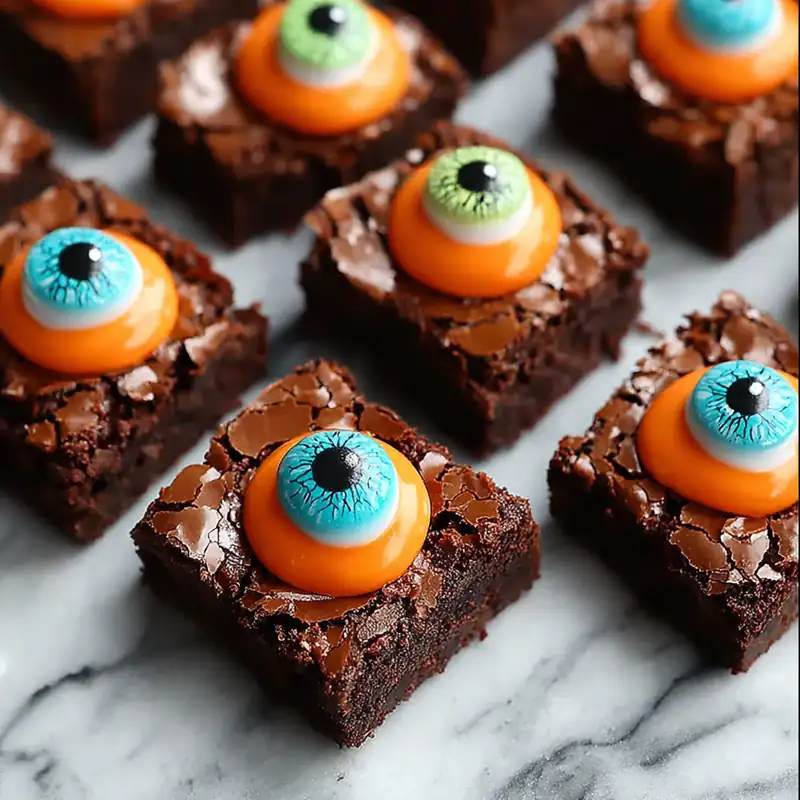
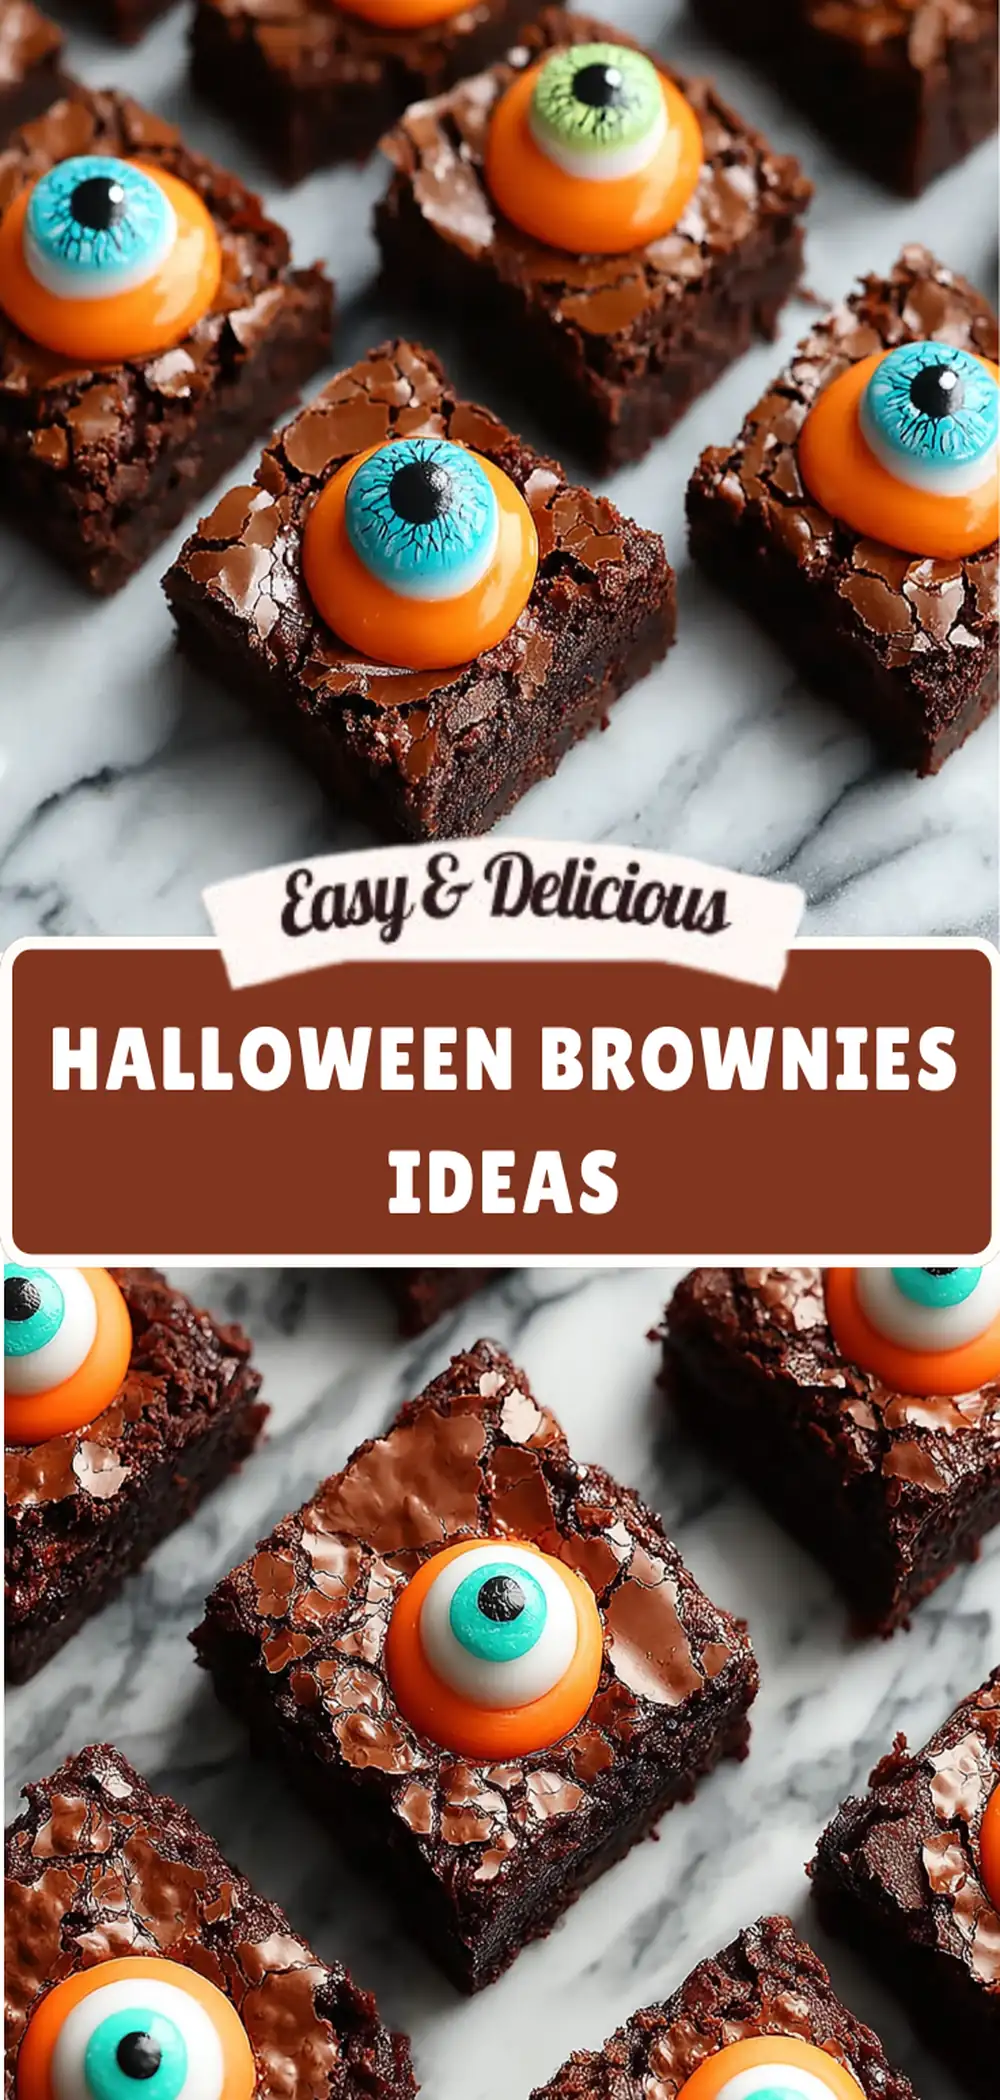
Halloween is one of the best times of the year to have fun in the kitchen, and these Spooky Halloween Brownies are an easy and delicious way to celebrate. They start with a rich, fudgy chocolate brownie base and are transformed into a festive Halloween dessert with colorful candies, mini marshmallows, candy eyes, gummy worms, sprinkles, and other spooky decorations.
These brownies are perfect when you want a dessert that looks impressive without requiring complicated baking skills. The brownie batter comes together with simple ingredients that you may already have in your pantry, while the decorations can be customized depending on what you have available.
Whether you are preparing treats for a Halloween party, a classroom celebration, a family movie night, or a neighborhood gathering, these brownies are sure to attract attention. Kids can also help decorate them, making this recipe a fun activity as well as a delicious dessert.
Why You’ll Love These Halloween Brownies
There are plenty of reasons to add these brownies to your Halloween baking list. First, the brownie base is rich, chocolatey, and wonderfully fudgy. The addition of semi-sweet chocolate chips gives every bite an extra chocolate flavor and soft pockets of melted chocolate.
The second reason is how easy they are to customize. You don’t need to make the decorations exactly as shown. You can use candy eyes for monsters, white chocolate for mummies, cookies for tombstones, or colorful frosting for a playful Halloween design.
Another great thing about this recipe is that you can prepare the brownies ahead of time. Bake them the day before your event, allow them to cool completely, and decorate them shortly before serving.
Prep Time and Cook Time
Prep Time: 15 minutes
Cook Time: 28–32 minutes
Total Time: About 45 minutes
Ingredients
For the brownie base, you will need:
- 1 cup (2 sticks) unsalted butter, melted
- 2 cups granulated sugar
- 1 cup unsweetened cocoa powder
- 1 teaspoon vanilla extract
- 4 large eggs
- 1 cup all-purpose flour
- ½ teaspoon baking powder
- ½ teaspoon salt
- 1 cup semi-sweet chocolate chips
For the Halloween decorations:
- ½ cup candy-coated chocolates in Halloween colors
- ½ cup mini marshmallows
- Candy eyeballs
- Gummy worms
- Halloween sprinkles
- Melted white chocolate, optional
- Cookies or additional candies for decorating, optional
You can easily adjust the toppings depending on the theme of your Halloween party. Orange, black, purple, green, and white candies all work beautifully.
How to Make Spooky Halloween Brownies
1. Prepare the Baking Pan
Start by preheating your oven to 350°F (175°C). Prepare a 9×13-inch baking pan by lining it with parchment paper. Leave some parchment hanging over the sides so you can easily lift the brownies out once they have cooled.
You can also lightly grease the pan with butter or cooking spray. Using parchment paper is especially helpful if you want clean brownie squares.
2. Mix the Butter, Sugar, and Cocoa
Add the melted butter, granulated sugar, and unsweetened cocoa powder to a large mixing bowl. Whisk everything together until the mixture is smooth and well combined.
The mixture may look thick at this stage, which is completely normal. The melted butter helps create a rich brownie texture, while the cocoa powder provides the deep chocolate flavor.
3. Add the Eggs and Vanilla
Add the vanilla extract and mix well. Then add the eggs one at a time, beating after each addition until fully incorporated.
As you mix, the batter should become thicker and glossy. Taking the time to mix the eggs properly helps create a smooth brownie batter.
4. Add the Dry Ingredients
In a separate bowl, whisk together the all-purpose flour, baking powder, and salt.
Gradually add the dry ingredients to the chocolate mixture. Use a spatula or wooden spoon to gently fold everything together.
Be careful not to overmix the batter. Mix only until you no longer see dry streaks of flour. Overmixing can develop too much gluten and result in brownies that are more cakey than fudgy.
5. Add the Chocolate Chips
Gently fold the semi-sweet chocolate chips into the batter.
The chocolate chips add extra richness and create delicious melted chocolate pockets throughout the brownies. If you prefer an even more chocolatey dessert, you can use a combination of semi-sweet and dark chocolate chips.
6. Bake the Brownies
Pour the batter into the prepared 9×13-inch pan and spread it evenly with a spatula.
Place the pan in the preheated oven and bake for approximately 28–32 minutes.
The exact baking time can vary slightly depending on your oven. To check for doneness, insert a toothpick into the center. It should come out with a few moist crumbs attached.
Try not to overbake the brownies. A few moist crumbs are a good sign because the brownies will continue to set as they cool.
7. Add the Halloween Toppings
Once the brownies are baked, allow them to remain warm while you add some of the toppings.
Scatter the mini marshmallows and Halloween-colored candies across the surface. Lightly press them into the warm brownies so they stay in place.
For slightly melted marshmallows, return the pan to the oven for approximately 2–3 minutes. Watch them carefully because they can melt quickly.
Remove the pan from the oven and allow the brownies to cool completely.
8. Decorate the Brownies
Once the brownies are cool, this is where the real Halloween fun begins.
Add candy eyeballs to create little monsters. Sprinkle Halloween-colored sprinkles over the surface for extra color. You can also add gummy worms for a playful spooky effect.
For a mummy design, drizzle melted white chocolate over individual brownie squares in thin zigzag lines. Place two candy eyes underneath the drizzle before the chocolate sets.
You can also use melted white chocolate to create spiderweb designs. Simply pipe several thin circles or curved lines and gently drag a toothpick from the center outward to create a web effect.
9. Slice and Serve
Use a sharp knife to cut the brownies into squares. For cleaner cuts, allow the brownies to cool completely before slicing and wipe the knife between cuts.
If you want a more festive presentation, use Halloween cookie cutters to create shapes such as bats, pumpkins, or ghosts. Keep in mind that cutting shapes from a rectangular brownie can create extra scraps, but those pieces make a delicious snack for the baker.
Arrange the finished brownies on a Halloween-themed platter and serve.
Fun Halloween Decoration Ideas
Mummy Brownies
Mummy brownies are one of the easiest designs to make. Drizzle melted white chocolate over each brownie in irregular zigzag lines. Add two candy eyes before the chocolate completely sets.
Graveyard Brownies
Turn your brownies into a spooky graveyard by placing small rectangular cookies upright to resemble tombstones. You can pipe “RIP” onto the cookies with frosting and sprinkle crushed chocolate cookies around them to create a dirt effect.
Monster Brownies
For colorful monster brownies, spread green, purple, orange, or another Halloween-colored frosting over the brownie surface. Add candy eyes in different sizes to create funny monster faces.
Spiderweb Brownies
Melt white chocolate and pipe several circles onto each brownie. Drag a toothpick from the center toward the edges to create a spiderweb effect. Add a small candy spider if desired.
Pumpkin Brownies
Use orange frosting or orange candy melts to decorate the brownies. Add small green candy pieces or frosting to create pumpkin stems.
Tips for Making the Best Halloween Brownies
The most important tip is to avoid overbaking. Brownies should remain soft and slightly fudgy in the center. Checking them a few minutes before the recommended baking time can help prevent dry brownies.
Make sure your melted butter is not extremely hot when adding the eggs. Allow it to cool slightly if necessary.
When combining the flour with the wet ingredients, mix gently and only until everything is incorporated.
For easier slicing, allow the brownies to cool completely. If you want especially neat squares, you can chill the brownies briefly before cutting.
If you are making these brownies for a party, prepare the brownie base in advance and decorate them closer to serving time. This helps keep the toppings looking fresh and colorful.
Make-Ahead Instructions
These Halloween brownies are ideal for preparing ahead of time.
You can bake the brownies one day before your Halloween event. Once completely cooled, cover them tightly and store them at room temperature.
Decorate them a few hours before serving. This is especially useful if you are using toppings such as gummy worms, candy eyes, marshmallows, or sprinkles.
If you need to prepare them even further in advance, the undecorated brownies can be stored properly and decorated later.
How to Store Halloween Brownies
Store leftover brownies in an airtight container at room temperature for up to 3 days.
For longer storage, refrigerate them for up to 1 week. Allow refrigerated brownies to come closer to room temperature before serving for the best texture.
If you are stacking brownies in a container, place parchment paper between the layers to help prevent the decorations from sticking together.
Creative Variations
There are many ways to change these brownies depending on your preferences.
Instead of candy-coated chocolates, try peanut butter cups, caramel pieces, crushed chocolate cookies, or chopped nuts.
You can also experiment with different chocolate chips. Dark chocolate chips will create a deeper chocolate flavor, while milk chocolate chips will make the brownies sweeter.
For a colorful Halloween theme, use different frosting colors and decorations. Orange and black create a traditional Halloween look, while purple, green, and white can give the brownies a more playful appearance.
How to Serve Halloween Brownies
Serve these brownies as part of a Halloween dessert table alongside cookies, cupcakes, popcorn, or other festive treats.
For a Halloween movie night, place individual brownies on small plates and serve them with milk, hot chocolate, or another favorite drink.
If you’re hosting a children’s party, let the kids decorate their own brownie. Prepare bowls of candy eyes, sprinkles, gummy worms, and other toppings and allow everyone to create a unique design.
Frequently Asked Questions
Can I make these brownies ahead of time?
Yes. You can bake the brownies a day ahead and decorate them shortly before serving. Store the undecorated brownies in an airtight container.
How do I keep brownies fudgy?
Avoid overmixing the batter and do not overbake. Remove the brownies when a toothpick inserted into the center comes out with a few moist crumbs.
Can I use different Halloween toppings?
Absolutely. Candy eyes, gummy worms, sprinkles, cookies, frosting, chocolate chips, and candy melts can all be used to create different designs.
Can children help make these brownies?
Yes. Children can help add sprinkles, candy eyes, gummy worms, and other decorations once the brownies have cooled. Always supervise children around the oven and hot baking equipment.
Nutrition Information
The estimated nutrition per serving, based on approximately one brownie square, is:
Calories: 420
Protein: 5g
Carbohydrates: 58g
Fat: 20g
Fiber: 3g
Sugar: 38g
Nutrition information is an estimate and can vary depending on the specific ingredients, toppings, serving size, and preparation method.
Final Thoughts
These Spooky Halloween Brownies are a simple way to bring plenty of Halloween spirit to your dessert table. The rich, fudgy chocolate base provides the perfect canvas for creative decorations, while the colorful candies and spooky toppings make each brownie fun and unique.
Whether you choose mummy brownies, monster brownies, graveyard designs, spiderwebs, or your own creative idea, this recipe gives you plenty of room to experiment.
The best part is that you don’t need advanced decorating skills. With a few simple toppings and a little imagination, an ordinary batch of brownies can become a memorable Halloween treat that both kids and adults will enjoy.
Bake a batch, gather your favorite Halloween decorations, and have fun creating your own spooky brownie designs!