
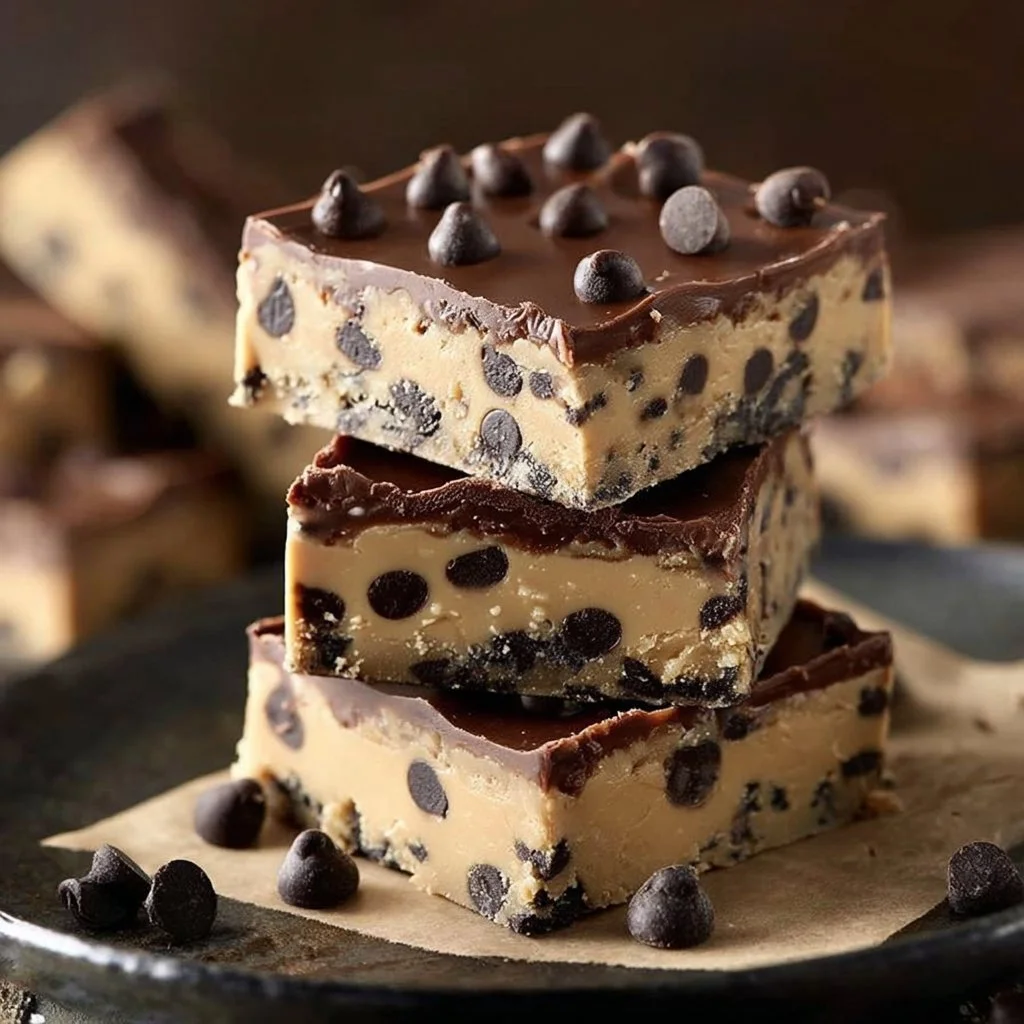
No Bake Cookie Dough Bars
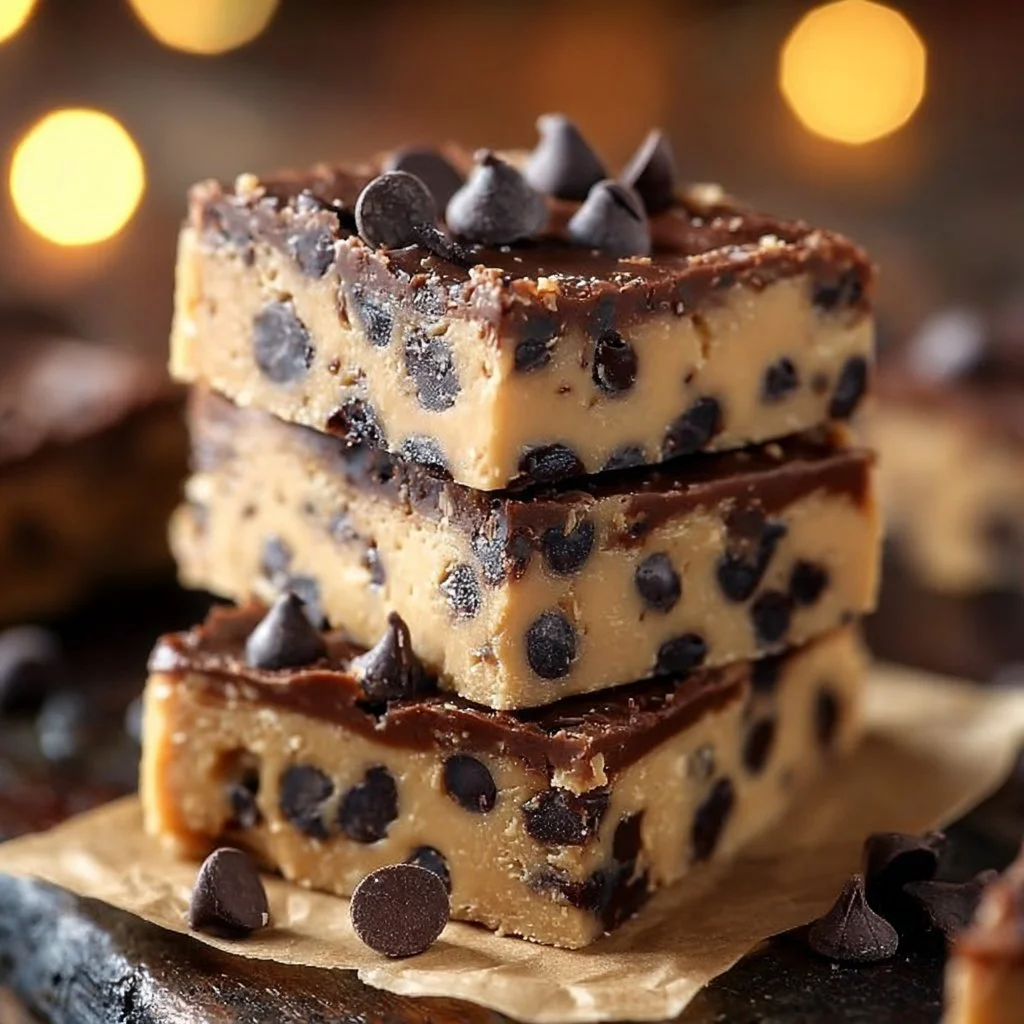
These No Bake Cookie Dough Bars are a delightful treat that perfectly captures the flavors of traditional cookie dough, minus the baking. With a soft, chewy texture and the rich flavors of buttery brown sugar and sweet chocolate, they are a decadent dessert ideal for any occasion. Whether you’re hosting a party, craving an afternoon snack, or looking for a quick treat after dinner, these bars will satisfy your sweet tooth without requiring any time in the oven.
What makes these bars special is not just their deliciousness but also their convenience. They are incredibly easy to whip up, requiring no baking skills and minimal time. Perfect for kids and adults alike, these treats bring a nostalgic twist to dessert, reminding many of sneaking spoonfuls of cookie dough while baking. Plus, they’re great for sharing, adding a fun touch to gatherings or cozy movie nights.
Prep Time, Cook Time, Total Time:
Prep Time: 10 min | Chill Time: 1-2 hours | Total Time: 1-2 hours
How to Make No Bake Cookie Dough Bars
Ingredients:
- 1 1/2 cups all-purpose flour (heat-treated or microwave for 1-2 minutes to kill any bacteria)
- 1/2 cup unsalted butter, melted
- 1/2 cup brown sugar, packed
- 1/4 cup granulated sugar
- 1/4 cup milk (or dairy-free milk)
- 1 teaspoon vanilla extract
- 1/4 teaspoon salt
- 1 cup mini chocolate chips (or regular chocolate chips, chopped)
Step-by-Step Instructions:
-
Prepare the Flour: To ensure safety when eating raw flour, heat it in the microwave for 1-2 minutes on high. Alternatively, you can bake it at 350°F (175°C) for 5-10 minutes. Let the flour cool before using it in the recipe to avoid melting the butter.
-
Mix Wet Ingredients: In a large mixing bowl, combine the melted butter, brown sugar, granulated sugar, milk, vanilla extract, and salt. Stir the mixture until it’s smooth and the sugar is mostly dissolved, creating a rich base for your cookie dough.
-
Add the Flour: Gradually add in the prepared flour, stirring until the dough starts to come together. It should be thick but soft enough to handle. If the dough feels too dry, simply add a tablespoon of milk at a time until the desired consistency is reached.
-
Stir in Chocolate Chips: Once the dough is fully combined, gently fold in the mini chocolate chips, ensuring they are evenly distributed throughout the dough for that perfect chocolate bite in every square.
-
Press into Pan: Line an 8×8-inch square pan with parchment paper or lightly grease it. Press the cookie dough mixture into the pan firmly, spreading it out evenly to the edges.
-
Chill: Put the pan in the fridge and let the bars chill for at least 1-2 hours, or until they become firm and set. This step is crucial for better texture when serving.
-
Serve: After chilling, remove the bars from the pan using the edges of the parchment paper. Cut them into squares and serve!
Pro Tips
- Heat Treating Flour: Always heat-treat your flour to eliminate the risk of bacteria. This step ensures that your no-bake bars are safe to eat.
- Melting Butter: When melting butter, do it gently to avoid splattering or burning. A microwave works well; just do it in short intervals.
- Dough Texture: If your dough seems too crumbly, add more milk gradually; a soft dough is easier to press into the pan.
- Chilling Time: Don’t rush the chilling process! Letting these bars set properly in the fridge will significantly improve their texture and flavor.
- Chocolate Choices: Feel free to swap mini chocolate chips for regular ones or use chopped-up chocolate bars for varied textures and flavors.
Why You’ll Love This Recipe
These No Bake Cookie Dough Bars are a wonderful combination of rich flavors and simple preparation. They boast a luxurious, creamy flavor profile thanks to the buttery sugars, balanced with the sweet crunch of chocolate chips. The no-bake nature makes them an easy option for anyone, whether you’re a seasoned baker or just starting.
They also cater to various dietary needs. By swapping out ingredients for dairy-free options or using gluten-free flour, you can accommodate friends and family with dietary restrictions. This versatility makes them perfect for birthdays, potlucks, or just an everyday treat.
How to Serve No Bake Cookie Dough Bars
When it comes to serving these delicious bars, presentation is key! Cut them into uniform squares and place them on a beautiful platter for gatherings. Pair them with a scoop of vanilla or chocolate ice cream for a delightful dessert combo. If you want a bit of flair, drizzle some melted chocolate or caramel sauce over the top before serving.
For drinks, consider serving them with a glass of cold milk, a rich coffee, or a hot chocolate, enhancing the sweet experience. If you’re serving at a party or gathering, providing a small plate for each guest adds a touch of charm.
How to Store No Bake Cookie Dough Bars
These bars can be stored in multiple ways. For short-term storage, simply keep them in an airtight container in the fridge, where they’ll stay fresh for about a week. If you want to keep them for longer, consider freezing them. Just make sure to wrap individual pieces tightly in plastic wrap, then place them in a freezer-safe bag; they can last up to three months in the freezer.
If you prefer leaving them at room temperature, ensure they’re stored in a cool, dry spot in a sealed container, but they’ll only last for about a day or two before becoming too soft.
Tips to Make No Bake Cookie Dough Bars
- Mix with Hand: Encourage kids or helpers to mix the dough by hand for a fun, interactive experience. Just make sure to wash hands thoroughly!
- Flavor Enhancements: Add in a pinch of cinnamon or a splash of almond extract for a unique twist.
- Texture Control: For a crunchier texture, consider folding in some chopped nuts or toffee bits along with the chocolate chips.
- Dairy-Free: Use coconut oil in place of butter and your favorite non-dairy milk to create a dairy-free treat.
Variations
- Vegan Version: Substitute the butter with coconut oil or vegan butter and use non-dairy milk, ensuring it’s fully plant-based.
- Gluten-Free: Switch regular flour with gluten-free all-purpose flour or almond flour for a gluten-free treat.
- Add Ins: Get creative by adding peanut butter chips, butterscotch chips, or dried fruits for a twist.
Nutrition Information:
( Serving Size: 1 bar | Calories: 220 | Protein: 2g | Carbs: 30g | Fat: 10g | Fiber: 1g | Sugar: 15g )
These bars are rich in calories primarily due to sugars and fats; however, they provide a delightful indulgence for a special treat.
Storage and Reheating
These bars don’t require reheating but if you’d like to enhance their flavor, you can place them in the microwave for a few seconds to soften slightly. For best results, use a low setting to avoid melting them too much.
Customization Ideas
- Mixing Flavors: Experiment with different flavored extracts – try mint for a fresh kick, or orange for a zesty surprise.
- Add Toppings: Sprinkle sea salt, crushed graham crackers, or toasted coconut on top before chilling for extra flavor and texture.
Common Mistakes to Avoid
- Not Heating the Flour: Always heat-treat flour to ensure safety; skipping this can expose you to potential bacteria.
- Too Much or Too Little Liquid: Adjust milk carefully; too much can make the dough too sticky.
- Not Chilling Long Enough: Resist the urge to skip the chilling step, as the bars need this for proper texture.
- Overmixing Dough: Mix just until combined; overmixing can lead to tough bars.
- Cutting Too Soon: Give the bars sufficient time to set before cutting; this helps retain their shape.
Serving Occasions
These No Bake Cookie Dough Bars are perfect for various occasions. Whether you’re hosting a birthday party, preparing for a family gathering, or planning a casual get-together, they fit right in. They also make a delightful treat for a potluck, offering a unique dessert option that everyone can enjoy.
Why Make This Recipe
This recipe stands out because it provides a no-bake alternative to traditional cookie dough, allowing for a quick and easy treat that still delivers on taste. Plus, it saves you from heating up the oven! The simplicity of the ingredients means you likely have what you need at home, making it an accessible option for last-minute cravings.
FAQs
-
Can I use regular flour instead of heat-treated flour?
- It’s best to heat-treat the flour to kill any bacteria, so it’s safer to eat raw.
-
Can I freeze these bars?
- Yes! Wrap individual bars tightly and store them in the freezer for up to three months.
-
What dairy-free options can I use?
- Replace butter with coconut oil or dairy-free margarine and use non-dairy milk alternatives.
-
How should I cut the bars?
- Use a sharp knife and cut them into squares after they’ve chilled adequately to help retain their shape.
-
Can I add other mix-ins?
- Absolutely! Feel free to mix in nuts, dried fruits, or different types of chocolate for a personalized touch.
Disclaimer:
Nutrition information is approximate and can vary based on specific ingredients used in your recipe. Always check ingredient labels for the most accurate information.
Print
No Bake Cookie Dough Bars
- Total Time: 120 minutes
- Yield: 16 servings 1x
- Diet: Vegetarian
Description
Delightful no bake cookie dough bars that capture rich flavors of traditional cookie dough with a soft, chewy texture, perfect for any occasion.
Ingredients
- 1 1/2 cups all-purpose flour (heat-treated)
- 1/2 cup unsalted butter, melted
- 1/2 cup brown sugar, packed
- 1/4 cup granulated sugar
- 1/4 cup milk (or dairy-free milk)
- 1 teaspoon vanilla extract
- 1/4 teaspoon salt
- 1 cup mini chocolate chips
Instructions
- Prepare the flour by heating it in the microwave for 1-2 minutes on high or baking it at 350°F (175°C) for 5-10 minutes. Let it cool.
- Mix the melted butter, brown sugar, granulated sugar, milk, vanilla extract, and salt in a large mixing bowl until smooth.
- Add in the prepared flour gradually, stirring until the dough comes together, adjusting with milk if needed.
- Stir in the mini chocolate chips until evenly distributed.
- Press the mixture into an 8×8-inch square pan lined with parchment paper.
- Chill in the refrigerator for at least 1-2 hours until firm.
- Serve by cutting into squares and enjoy!
Notes
Always heat-treat your flour for safety. Feel free to mix in different chocolate types or nuts for added texture.
- Prep Time: 10 minutes
- Cook Time: 0 minutes
- Category: Dessert
- Method: No-Bake
- Cuisine: American
Nutrition
- Serving Size: 1 bar
- Calories: 220
- Sugar: 15g
- Sodium: 150mg
- Fat: 10g
- Saturated Fat: 4g
- Unsaturated Fat: 6g
- Trans Fat: 0g
- Carbohydrates: 30g
- Fiber: 1g
- Protein: 2g
- Cholesterol: 30mg