
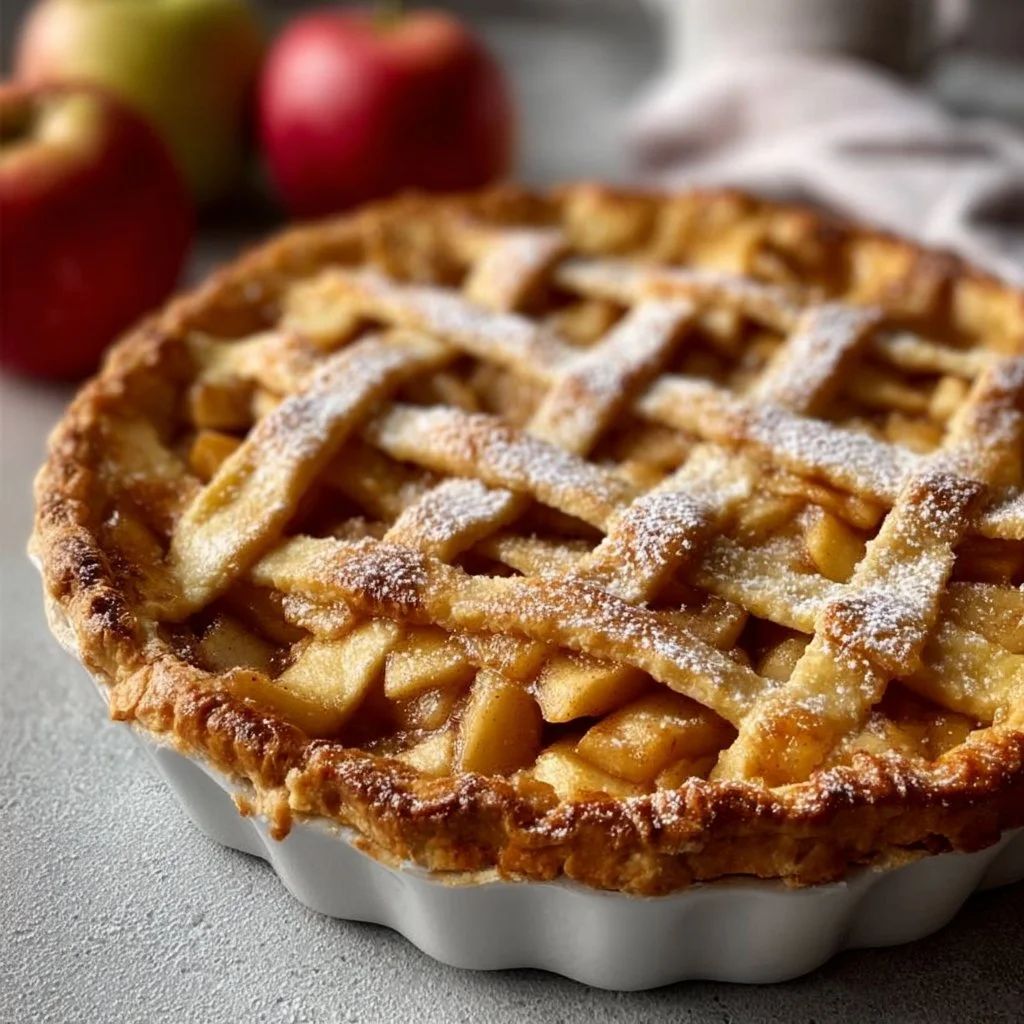
Classic Apple Pie
There’s nothing quite like a classic apple pie to capture the essence of home baking. This dessert is an all-time favorite for many, thanks to its perfect balance of sweet and tart flavors, complemented by a buttery, flaky crust. Picture the warm aroma of baked apples and cinnamon wafting through your kitchen—it’s a comforting scent that brings back memories of family gatherings and special moments. Whether served warm with a scoop of vanilla ice cream or enjoyed on its own, a slice of classic apple pie is sure to bring joy to anyone’s table.
This delightful pie is incredibly versatile, making it suitable for all occasions—from holiday dinners to casual gatherings, even a cozy breakfast treat. It’s especially enjoyable during the fall months when apples are fresh and in season. The flaky crust and tender apple filling create a satisfying texture that keeps everyone coming back for more. This recipe combines simplicity with traditional flavors, making it accessible for both novice and experienced bakers alike.
Prep Time: 20 min | Cook Time: 50 min | Total Time: 1 hr 10 min
How to Make Classic Apple Pie
Ingredients
- 2 1/2 cups all-purpose flour
- 1/2 teaspoon salt
- 1 tablespoon granulated sugar
- 1 cup unsalted butter, cold and cubed
- 6 to 8 tablespoons ice water
- 6 to 8 apples, peeled and sliced
- 3/4 cup granulated sugar
- 1 teaspoon ground cinnamon
- 1/4 teaspoon ground nutmeg
- 1 tablespoon lemon juice
- 1 tablespoon butter, to dot
- 1 egg (for egg wash, optional)
Step-by-Step Instructions
- Preheat your oven to 425°F (220°C). This temperature is key for getting that initial nice rise and color on the crust.
- In a large bowl, combine the flour, salt, and sugar. Cut in the cold butter using a pastry cutter or your fingers until the mixture resembles coarse crumbs. This step creates the flaky texture we love in pie crusts.
- Stir in ice water, one tablespoon at a time, until a dough forms into a ball. Be careful not to overwork the dough, as this can lead to a tougher crust.
- Divide the dough in half, shape it into discs, wrap them in plastic wrap, and refrigerate for at least 4 hours or overnight. Chilling the dough helps it relax, making it easier to roll out.
- In another bowl, toss the sliced apples with granulated sugar, cinnamon, nutmeg, and lemon juice. The lemon juice enhances the flavor of the apples and prevents browning.
- Roll out one dough disc on a floured surface to fit your pie pan. Place it in the pan and fill it with the apple mixture, then dot with butter for extra richness.
- Roll out the second disc and place it over the filling. Seal and flute the edges, cutting slits in the top to allow steam to escape.
- Brush the top with beaten egg if desired for a golden finish.
- Bake for 15 minutes at 425°F, then reduce the temperature to 350°F (175°C) and bake for an additional 35-45 minutes, until the apples are soft and the crust is golden brown.
- Cool on a wire rack before serving. Pair it with a scoop of vanilla ice cream for the perfect dessert!
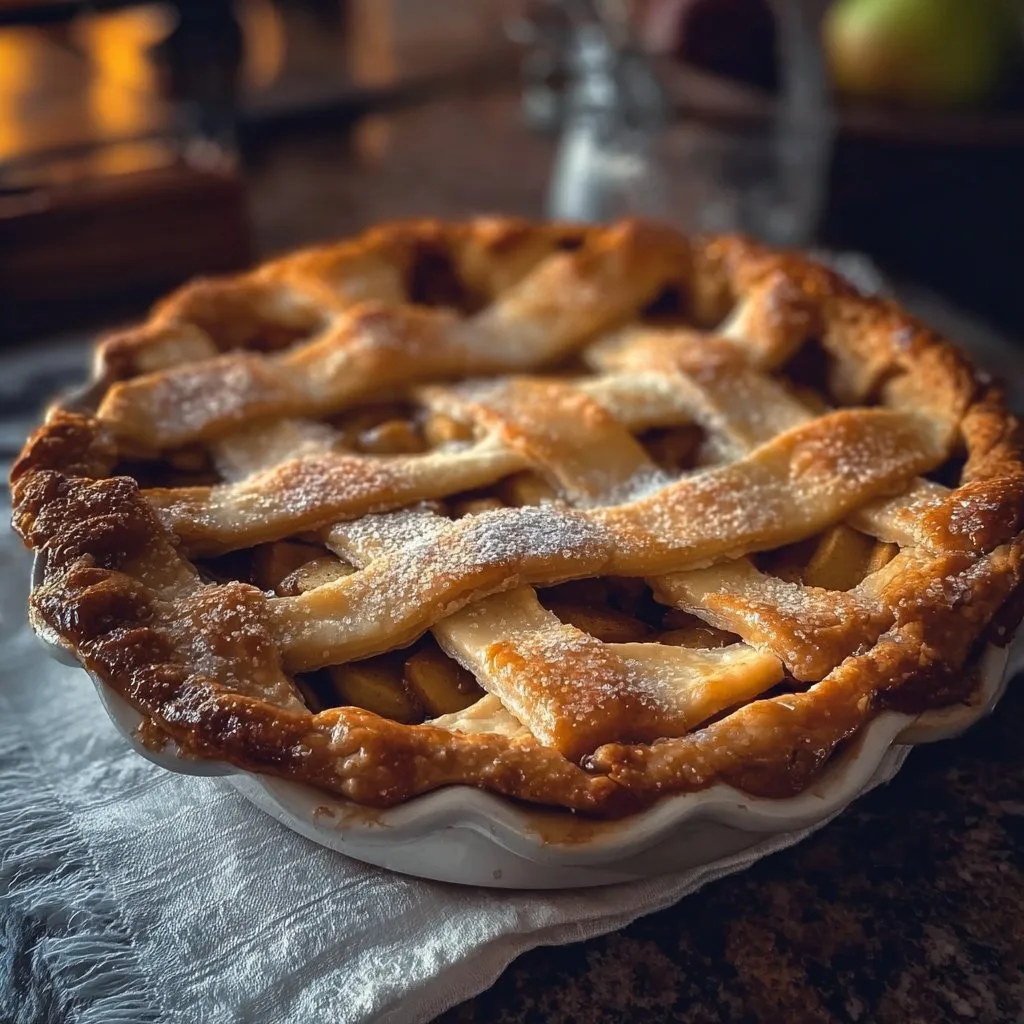
Pro Tips
- Use a Variety of Apples: For a complex flavor, mix different types of apples like Granny Smith for tartness and Honeycrisp for sweetness. This combination adds depth to the pie.
- Chill the Dough Well: Don’t skip the refrigeration step! A well-chilled dough is crucial for achieving that desired flakiness in the crust.
- Avoid Soggy Bottom Crust: To prevent a soggy crust, you can sprinkle a thin layer of flour or cornstarch between the crust and the filling. This absorbs some of the moisture.
- Taste Your Filling: Always taste the apple mixture before you assemble the pie. You may want to adjust the sugar or spices based on the sweetness of your apples.
- Use Aluminum Foil: If the edges of your pie start to brown too quickly, cover them with aluminum foil during baking to protect them while the rest continues to cook.
- Let it Cool: Although it’s tempting to dive right in, letting your pie cool for an hour or two helps the filling set up properly. Cutting it while warm makes it a bit runny.
Why You’ll Love This Recipe
One bite of classic apple pie offers a delightful experience with its warm spices, juicy apples, and flaky crust. The flavor is simply unbeatable, offering a cozy feeling that can lift your spirits any time of the year. What’s more, the simplicity of the recipe allows you to focus on the process, making it a fun activity to share with family or friends.
This pie fits a wide range of diets and occasions. It can be served as a comforting dessert after a hearty meal or enjoyed as a sweet breakfast treat with a cup of coffee. Its nostalgic and homemade feel makes it an ideal dish for family gatherings, holidays, or even a solo indulgence.
How to Serve Classic Apple Pie
Serving classic apple pie is about enhancing its homemade charm. Consider taking your pie straight from the oven to the table, where everyone can enjoy it warm. A scoop of vanilla ice cream on top or a dollop of fresh whipped cream is a popular choice and brings a creamy contrast to the pie’s texture.
For an elegant touch, sprinkle some cinnamon on the plate before placing a slice of pie. You can also serve it with a side of caramel sauce for drizzling, enhancing the flavors even further. As for drinks, consider pairing your pie with coffee, spiced cider, or even a light dessert wine.
How to Store Classic Apple Pie
Storing your classic apple pie properly is essential for maintaining its delicious flavor and texture. If you plan to enjoy it within a couple of days, cover it loosely with plastic wrap or aluminum foil and store it at room temperature. It can last for about 2-3 days on the counter.
For longer storage, refrigerate your pie, where it will keep well for up to a week. If you’re interested in keeping the pie for an extended period, consider freezing it. Wrap it tightly in aluminum foil or freezer-safe plastic wrap, and store in a freezer bag. It can be frozen for up to 3 months.
Tips to Make Classic Apple Pie
- Use Cold Ingredients: Always make sure that your butter and water are cold. This is a crucial step for a flaky crust, which is essential in any great pie.
- Experiment with Spices: Besides cinnamon and nutmeg, you can also try adding allspice or cardamom to change things up and match your taste preferences.
- Be Generous with Filling: Don’t skimp on the filling; a fuller pie is not only visually appealing but delicious. The apples will shrink as they cook, so it’s best to over-pack slightly.
- Keep a Watchful Eye: Since ovens can vary, keep checking your pie as it bakes to avoid burning. The pie is done when the filling is bubbly, and the crust has a beautiful golden hue.
Variation
Looking to switch things up? Here are a few variations for classic apple pie:
- Vegan Apple Pie: Swap the butter for coconut oil or vegan butter and use a flax egg instead of a regular egg for the wash.
- Gluten-Free Apple Pie: Substitute all-purpose flour with a gluten-free flour blend, making sure to also check the other ingredients for gluten content.
- Spiced Apple Pie: Add a pinch of cayenne pepper or ginger for a little kick, which pairs surprisingly well with the sweetness of apples.
Nutrition Information
- Serving Size: 1 slice
- Calories: 300
- Protein: 2g
- Carbs: 40g
- Fat: 15g
- Fiber: 3g
- Sugar: 20g
This pie is a good source of carbohydrates primarily from the apples and sugar, making it an indulgence, so enjoy it in moderation. Each slice has some fiber from the apples, which helps aid digestion.
Storage and Reheating
To reheat leftovers of your classic apple pie:
- Microwave: Place a slice on a microwave-safe plate and heat for about 30-60 seconds, checking frequently to avoid overheating.
- Oven: Preheat the oven to 350°F (175°C), cover the pie loosely with foil, and heat for about 10-15 minutes until warmed through.
- Skillet: Heat on medium-low heat in a skillet, covered, for about 5-10 minutes, which helps maintain the crust’s texture.
Customization Ideas
You can easily adjust the flavors or ingredients in your classic apple pie. For example, consider adding nuts like walnuts or pecans to the filling for extra crunch and richness. If you prefer more tartness, use a combination of Granny Smith apples alongside sweeter varieties.
For a touch of richness, drizzle with caramel or serve with whipped cream and a sprinkle of sea salt on top. You can also experiment with the crust; add a bit of brown sugar for a caramel-like flavor or sprinkle coarse sugar on top for extra sweetness.
Common Mistakes to Avoid
- Overmixing the Dough: It can lead to a tough crust. Mix just until combined for the best results.
- Using Warm Ingredients: This can melt the butter before baking, leading to a less flaky crust. Cold is key!
- Not Prebaking: If you want a very crisp crust, especially for a fresh fruit pie, consider partially baking it before adding the filling.
- Underestimating Filling: A sparse filling can lead to a lackluster pie. Be generous with the apples and spices!
- Ignoring Cooling Time: Cutting into the pie too soon can make the filling runny. Give it time to set!
Serving Occasions
Classic apple pie is perfect for various occasions, whether it’s a family dinner, Thanksgiving, or a picnic with friends. It’s equally delightful served at comforting late-night gatherings with coffee or as a sweet treat after a barbeque.
The nostalgia of apple pie also makes it a cherished addition to holiday festivities, as it captures free-spirited gatherings and heartwarming sharing moments. It’s an all-occasion dessert that evokes feelings of warmth in every bite.
Why Make This Recipe
What makes classic apple pie unique is its timeless nature. Unlike many trendy desserts, it stands the test of time and has been loved for generations. It offers the opportunity to connect with family traditions while creating new memories in the kitchen.
As you follow this simple recipe, you’ll find a joy in the process of baking that goes beyond just the final product. From choosing your apples to rolling out the dough, it’s an engaging experience that many find therapeutic. Baking a classic apple pie isn’t just about the end result; it’s about the joy of making something delicious that warms the heart and brings people together.
FAQs
- Can I make the crust ahead of time?
Yes! You can prepare the dough a day in advance. Just wrap it well in plastic wrap and store it in the refrigerator. - What apples are best for pie?
A mix of tart and sweet apples works best. Popular choices include Granny Smith, Honeycrisp, and Fuji. - Can I freeze apple pie before baking?
Absolutely! You can freeze unbaked apple pie. Wrap it tightly and bake directly from the freezer; simply add a few extra minutes to the baking time. - Is it necessary to use lemon juice in the filling?
Lemon juice brightens the flavor of the apples and helps prevent browning. While it’s not strictly necessary, it’s highly recommended! - How do I keep my pie from getting too brown?
If your pie is browning too fast, cover the edges with aluminum foil for the latter part of the baking process to prevent burning.
Disclaimer: Nutrition information is approximate and can vary based on ingredient brands, preparation methods, and serving sizes. Always feel free to adapt the recipe to fit your personal taste!
Print
Classic Apple Pie
- Total Time: 70 minutes
- Yield: 8 servings 1x
- Diet: Vegetarian
Description
A classic apple pie with a perfect balance of sweet and tart flavors, complemented by a buttery, flaky crust. It’s a comforting dessert that evokes memories of family gatherings.
Ingredients
- 2 1/2 cups all-purpose flour
- 1/2 teaspoon salt
- 1 tablespoon granulated sugar
- 1 cup unsalted butter, cold and cubed
- 6 to 8 tablespoons ice water
- 6 to 8 apples, peeled and sliced
- 3/4 cup granulated sugar
- 1 teaspoon ground cinnamon
- 1/4 teaspoon ground nutmeg
- 1 tablespoon lemon juice
- 1 tablespoon butter, to dot
- 1 egg (for egg wash, optional)
Instructions
- Preheat your oven to 425°F (220°C).
- In a large bowl, combine flour, salt, and sugar. Cut in cold butter until it resembles coarse crumbs.
- Stir in ice water, one tablespoon at a time, until a dough forms. Do not overwork the dough.
- Divide the dough in half, shape into discs, wrap in plastic wrap, and refrigerate for at least 4 hours.
- Toss sliced apples with sugar, cinnamon, nutmeg, and lemon juice.
- Roll out one dough disc and place it in a pie pan. Fill with apples and dot with butter.
- Roll out the second disc, place it over the filling, seal the edges, and cut slits on top.
- Brush with beaten egg if desired.
- Bake for 15 minutes at 425°F, then reduce to 350°F (175°C) for 35-45 minutes.
- Cool on a wire rack before serving.
Notes
For best results, use a mixture of tart and sweet apples for flavor complexity. Chill the dough well for maximum flakiness.
- Prep Time: 20 minutes
- Cook Time: 50 minutes
- Category: Dessert
- Method: Baking
- Cuisine: American
Nutrition
- Serving Size: 1 slice
- Calories: 300
- Sugar: 20g
- Sodium: 150mg
- Fat: 15g
- Saturated Fat: 9g
- Unsaturated Fat: 3g
- Trans Fat: 0g
- Carbohydrates: 40g
- Fiber: 3g
- Protein: 2g
- Cholesterol: 30mg